CenterEdge supports a variety of ticket printer formats, including Boca, Zebra, and Cognitive, among others. This document will explain how to customize, manage, and assign these formats using Manager Console.
Creating a Ticket Format
- From Manager Console, click Inventory.
- Double-click Ticket Formats.
- Click Add.
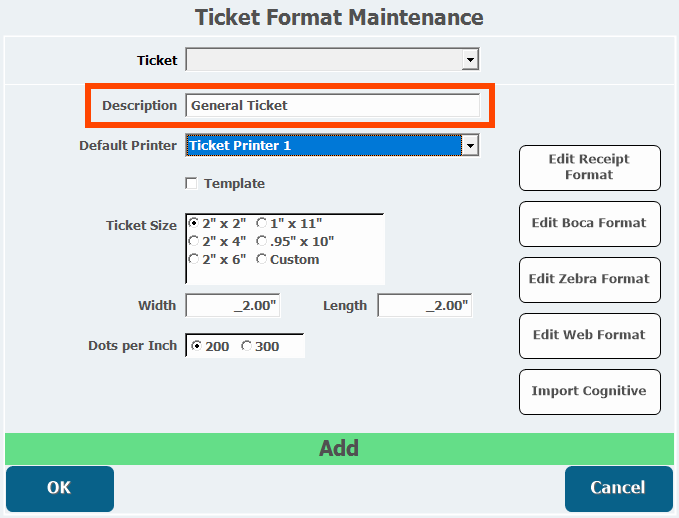
- Enter a Description.
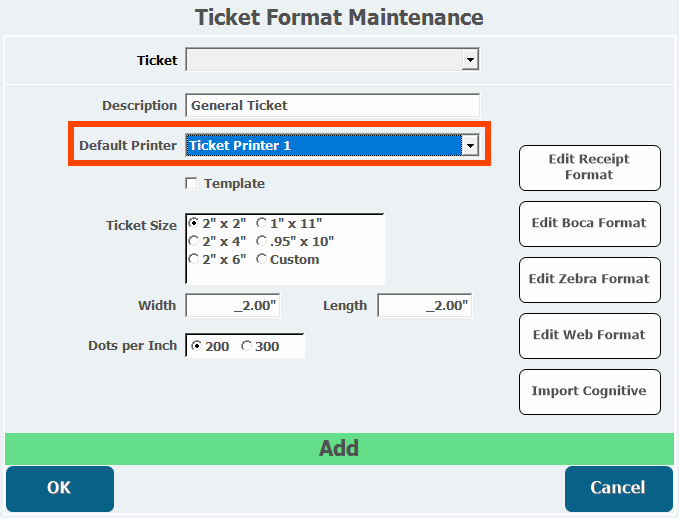
- Select a Default Printer.
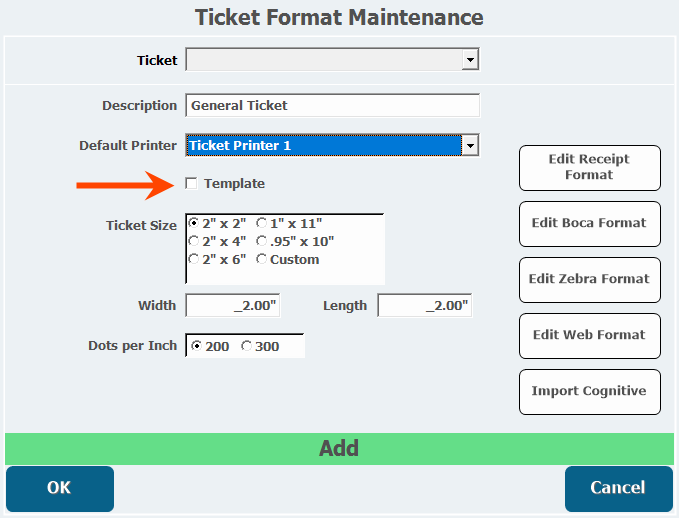
- Select Template if this ticket format will be used as a template to copy for other formats.
- Select a Ticket Size or choose Custom to enter a custom size.
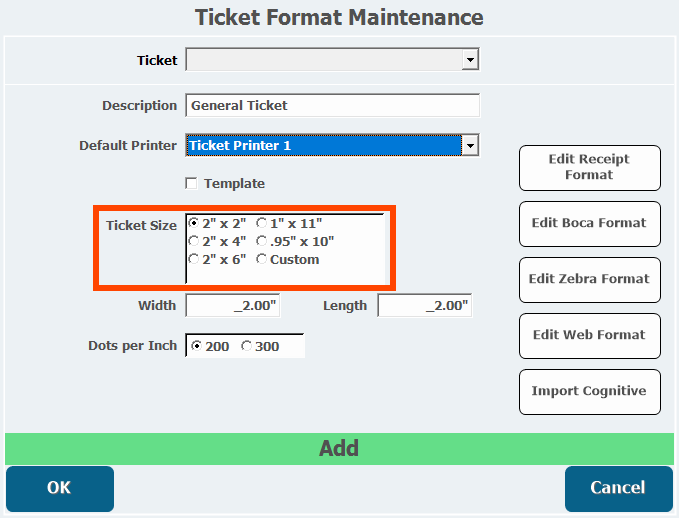
- Enter a Width and Length if the ticket size is custom.
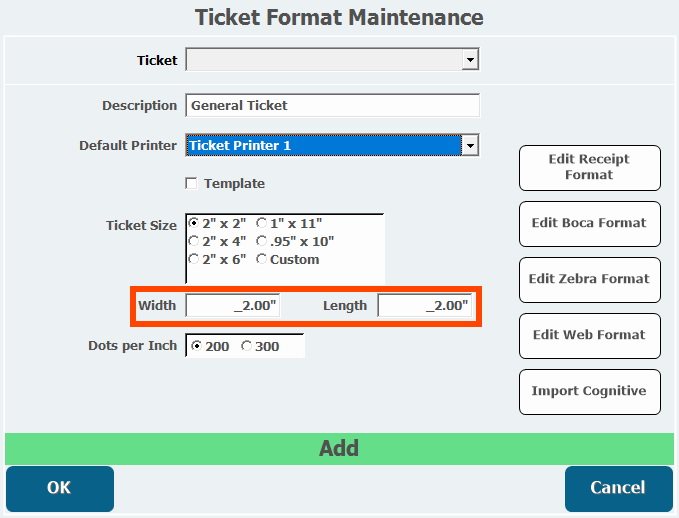
- Choose a Dots per Inch.
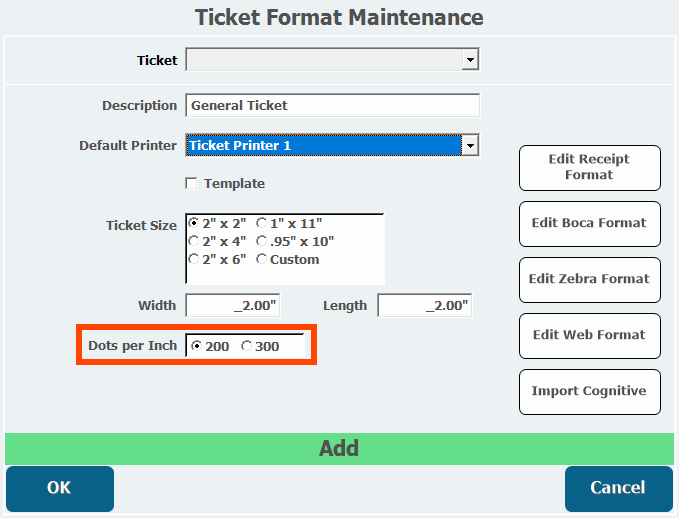
Choose the setting that matches the printer (this usually applies to BOCA printers). - Click OK.
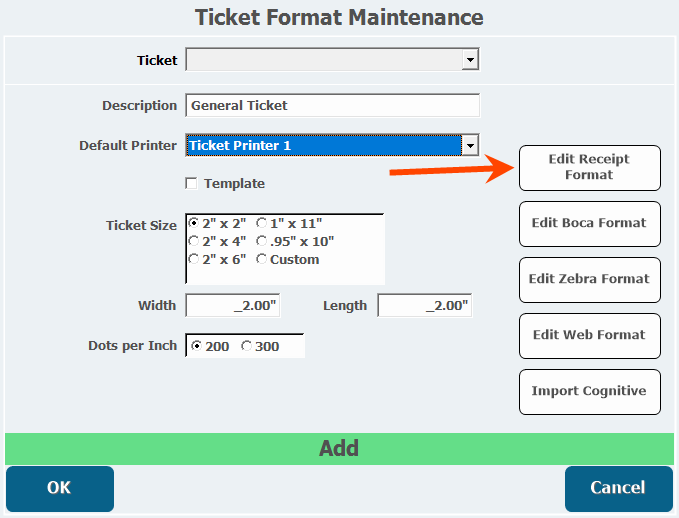
Creating a Receipt Format
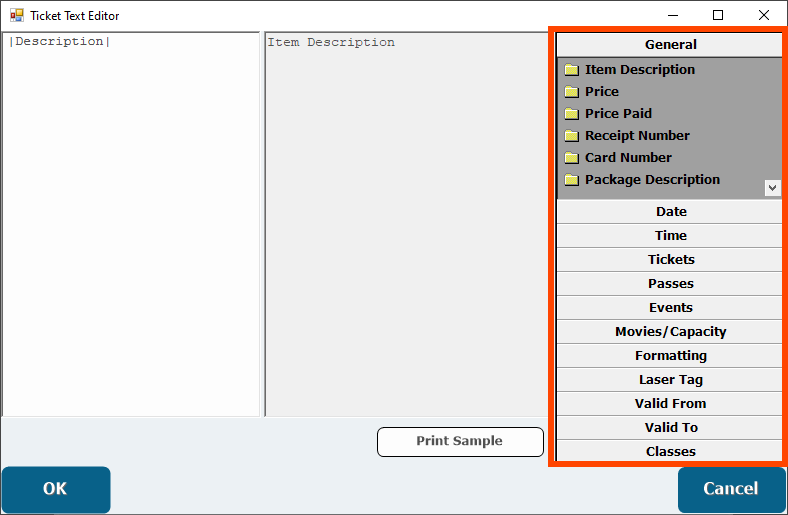
- From Ticket Format Maintenance, click Edit Receipt Format.
- Enter any information that will print on the ticket in the left Textbox.
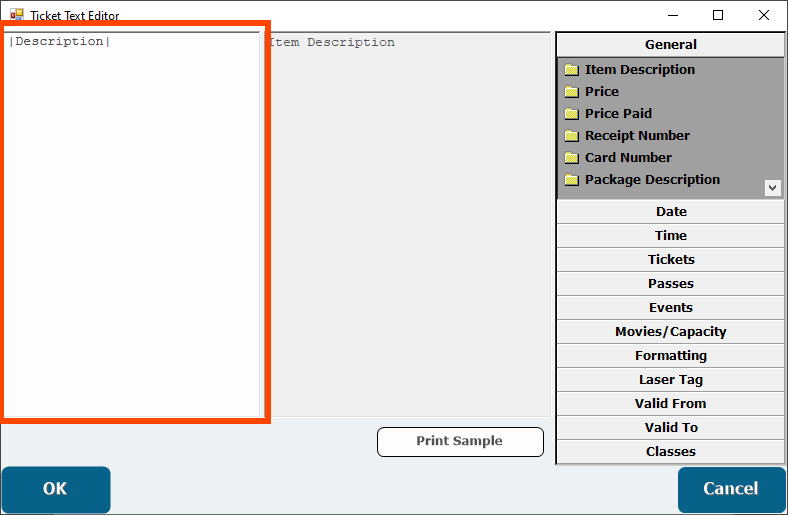
- Information can also be added to the receipt by selecting a Merge Field on the right.
- A Merge Field is a piece of information about the item such as a description, price, or date.
- A Merge Field is a piece of information about the item such as a description, price, or date.
- Select the Formatting merge field to change the format of the text on the receipt.
- Formats are how the text will appear such as bold or center.
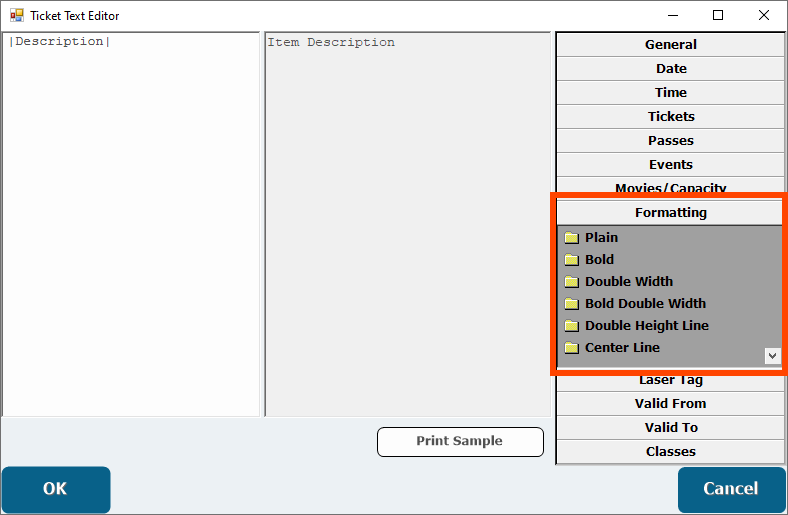
- Formats are how the text will appear such as bold or center.
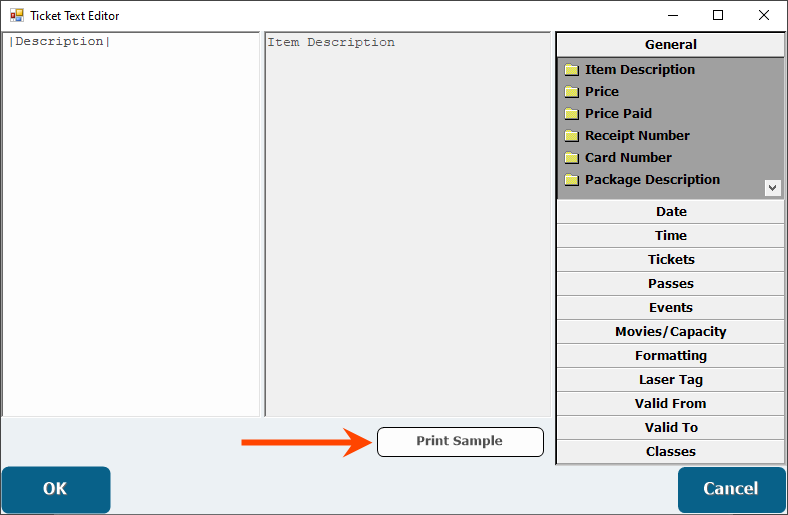
- Click Print Sample to print a sample ticket to the default printer for this format.
- Click OK.
Creating a Boca or Zebra Format
Boca and Zebra printers each need to have their own ticket format depending on the printer you have. The only difference functionally between the Boca editor and the Zebra editor is Zebra Formats can have images added to them. This example will be a simple Boca format.
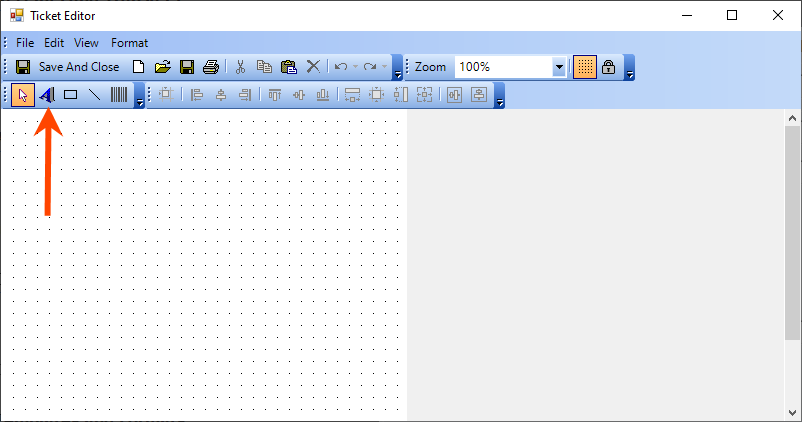
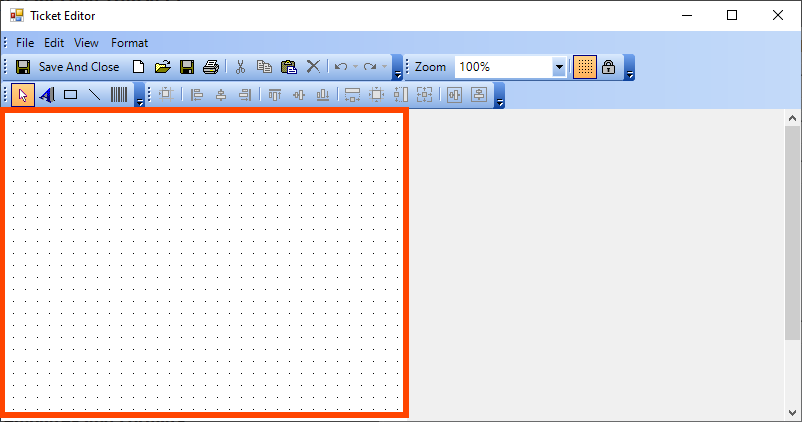
- From Ticket Format Maintenance, click Edit Boca Format or Edit Zebra Format.


- Click Add Text.
- Click anywhere within the dotted area.
- Enter the text in the Text field or select a Merge Field from the right side.
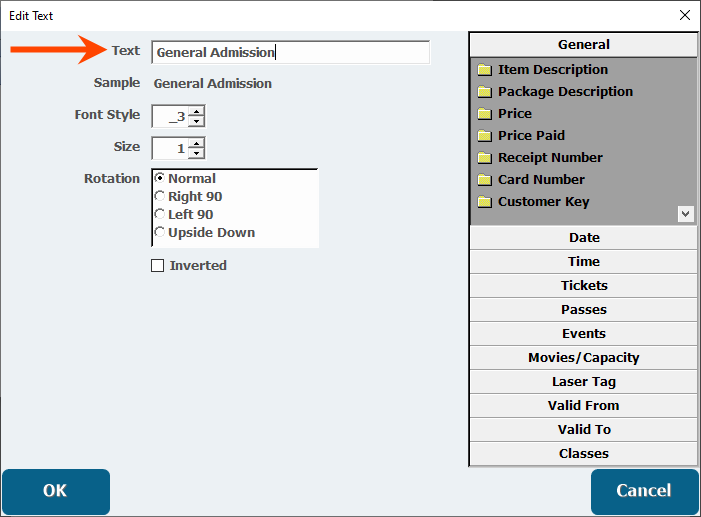
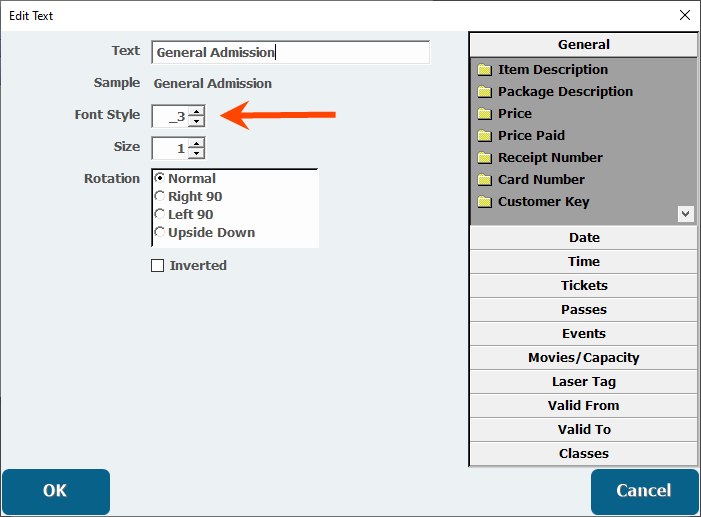
- Select a Font Style.
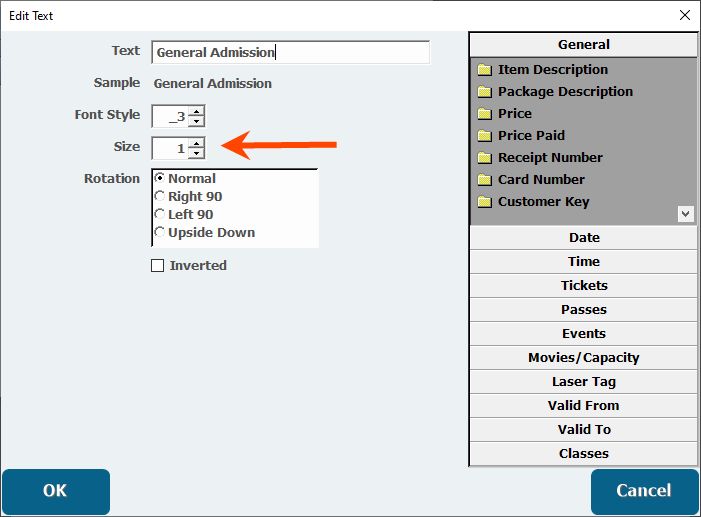
- Select a Font Size.
- Choose which orientation the text will appear in.
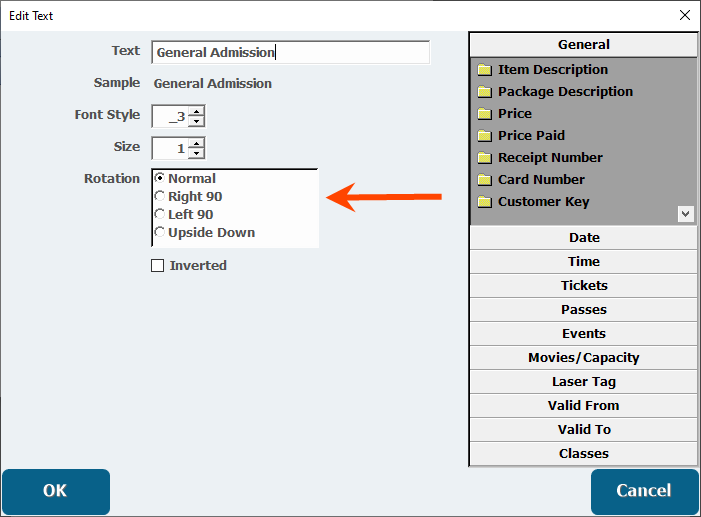
- Click OK.
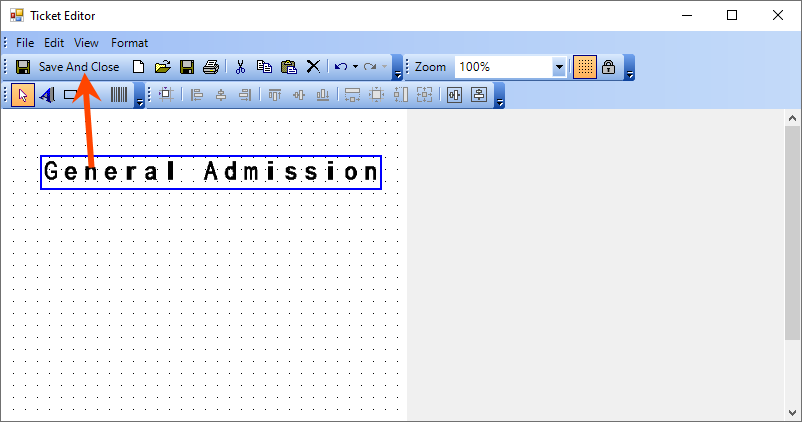
- Click Save and Close.
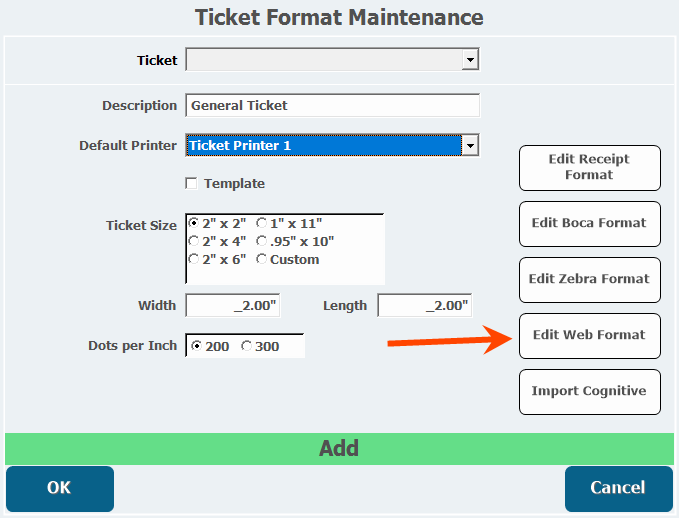
Creating a Web Format
Will call items, tickets, and barcode tickets must have a web format before they can be sold online.
- From Ticket Format Maintenance, click Edit Web Format.
- Information that will appear on the ticket can be entered in the text field to the left in a combination of Text and Merge Fields.
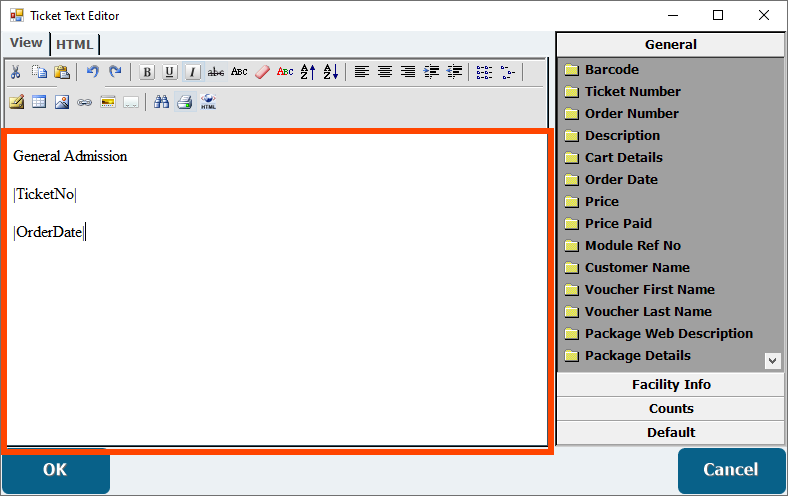
- Text can be formatted using the Toolbar at the top of the page.
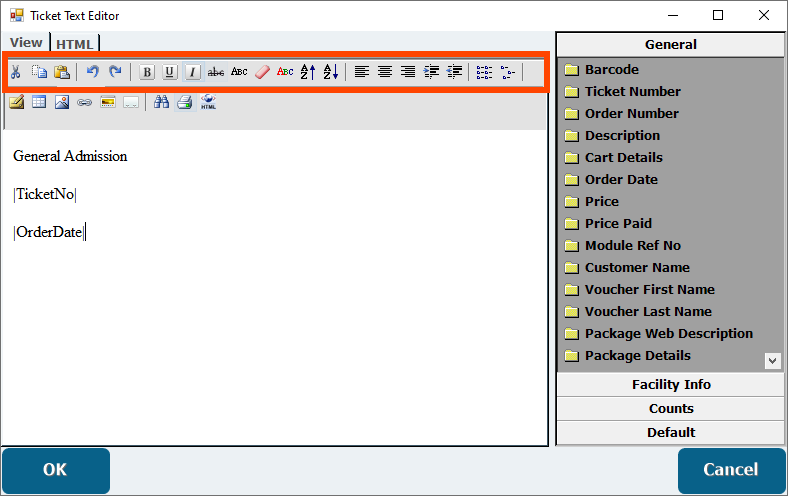
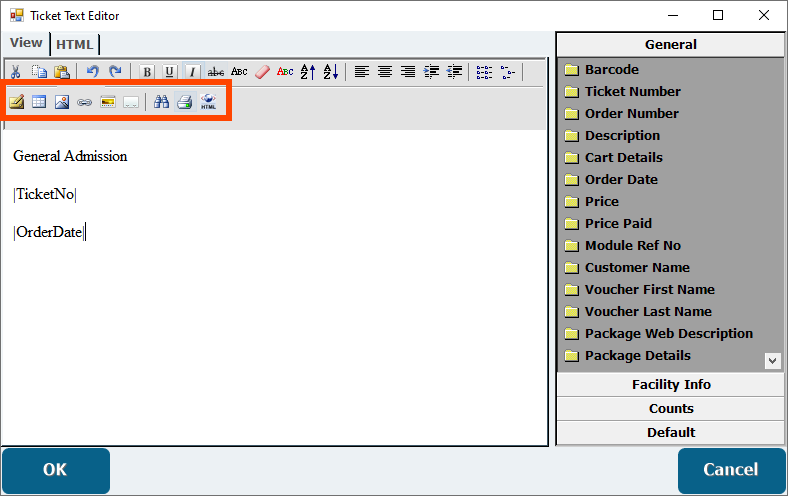
- Images and other items can also be inserted into the format from the top Toolbar.
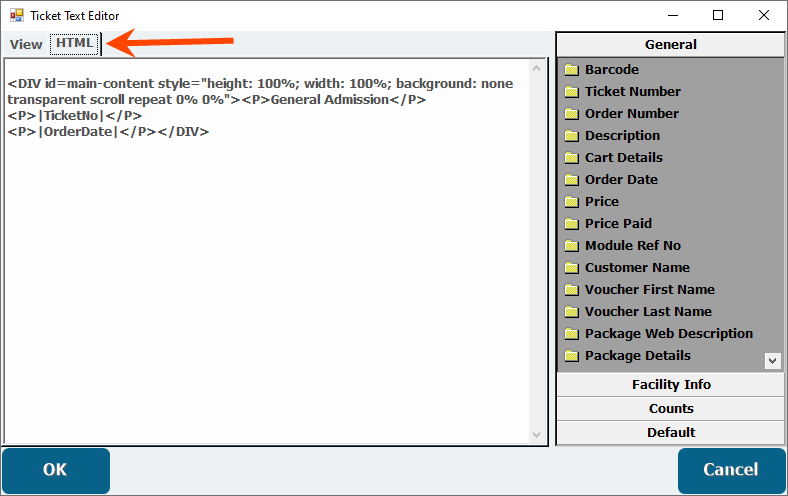
- The Web Format can also be edited by opening the HTML tab and entering HTML code into the text field.
- Click OK.
Clicking the Restore Defaults button while editing a web format will create a default web format like the one seen in the image below.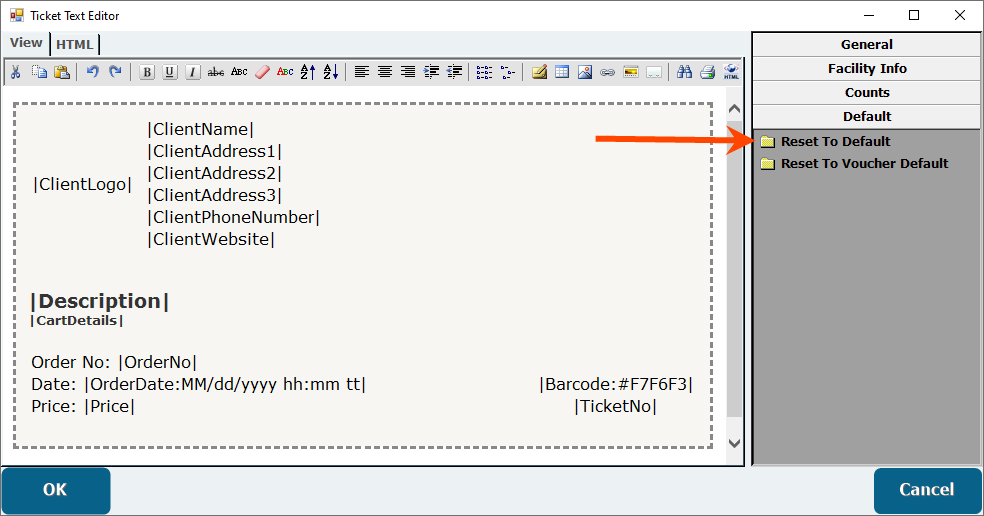
Cognitive Ticket Formats can also be imported into Advantage.
Adding a Ticket Format to an Item
- From Manager Console, click Inventory.
- Double click Item Maintenance.
- Select the Item to add the ticket format to.
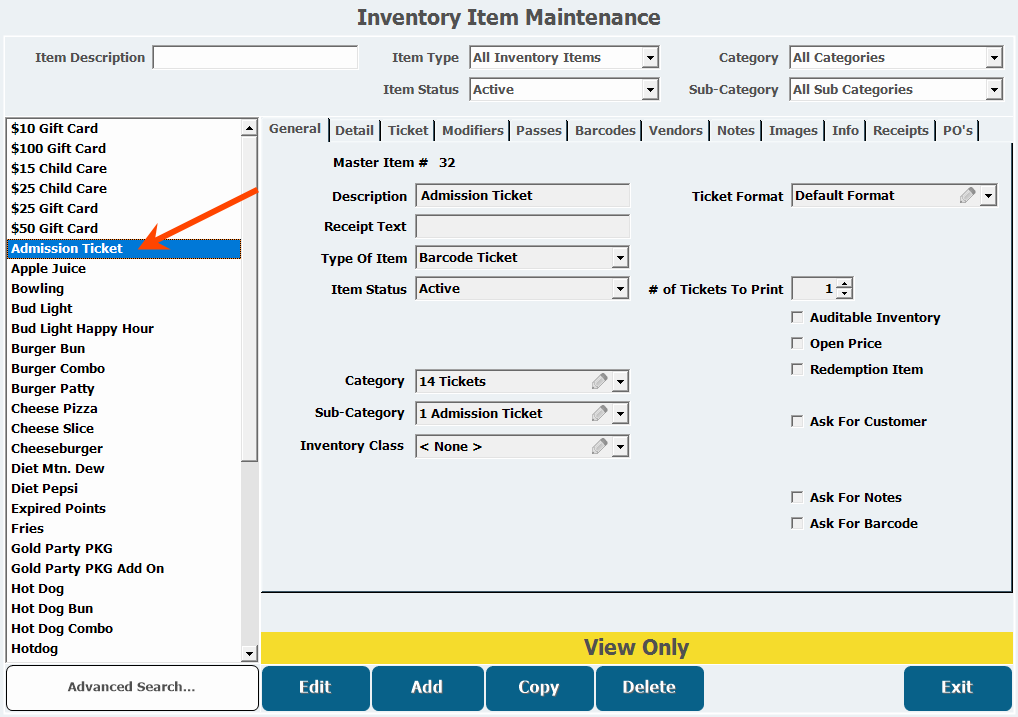
- Click Edit.
- From the General tab, select the format from the Ticket Format pull-down.
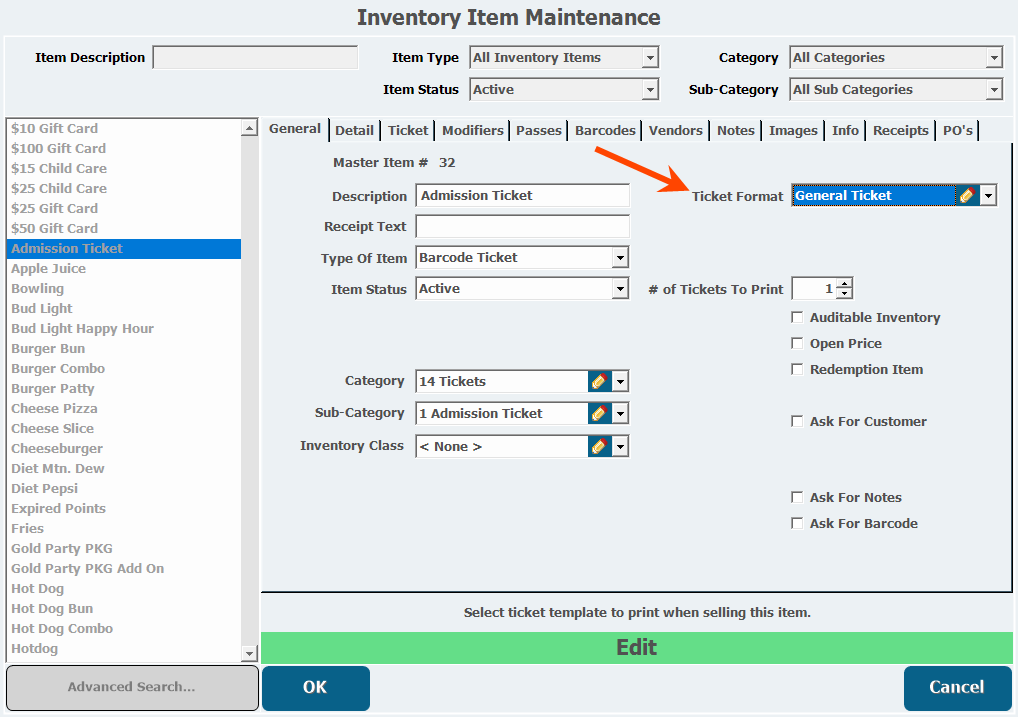
- Click OK.