Advantage's Rental module allows you to rent out items for long term or short term periods, charge a deposit fee, automatically account for late returns, and charge penalties for damaged items.
Setting up Rentals Enabling Rentals- From Manager Console, click Maintenance.
- Double-click System Settings.
- Double-click the Stations icon.

- From the pull-down at the top, select the station on which you would like to activate Rentals.
- Click Edit.
- From the Options tab, make sure Enable Rentals is set to Yes.
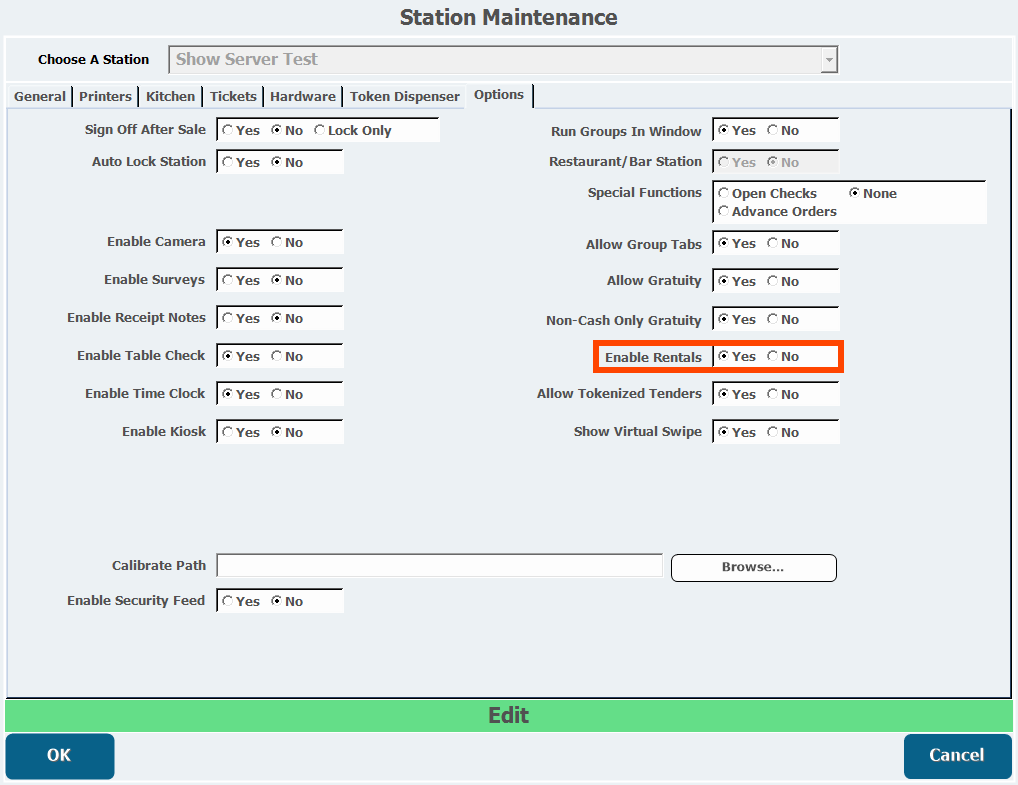
- Click OK.
- Do this for each station on which you'd like to enable Rentals.
- From Manager Console, click Maintenance.
- Double-click System Settings.
- Double-click the General System Settings icon.
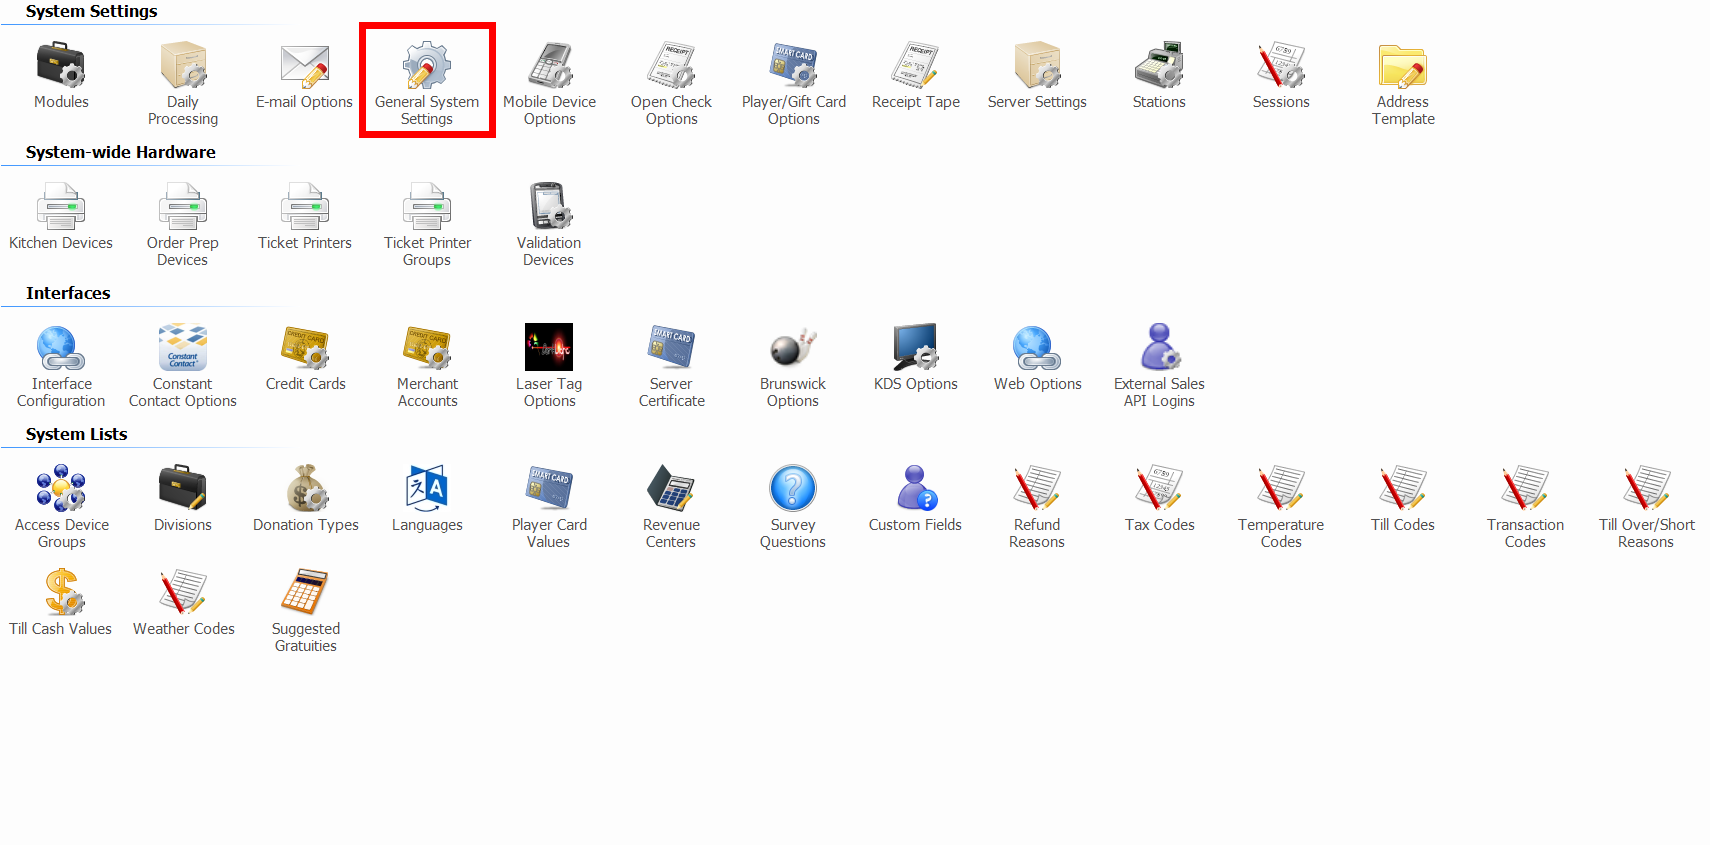
- From the Deferred Revenue tab, verify Enable Rental Deferred Revenue is selected.
- This setting allows Rental deposits to be entered into deferred revenue without affecting sales totals.
- From Manager Console, click Maintenance.
- Double-click Personnel.
- Double-click the Security icon.
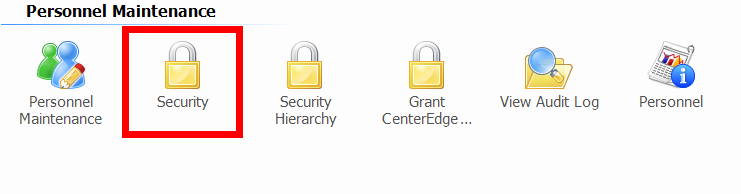
- Select the Security Group you'd like to grant permission to manage Rentals.
- This example is granting Cashiers permission.
- Click Edit.
- Expand the Console heading.
- Expand the Edit Functions sub-heading to see the Rental options.

- The Manage Rental Items, the Rental Item Deposit Forfeit, and the Rentals Early Return permissions need to be selected for any Security Group to be able to make edits to Rentals.
- Click OK.
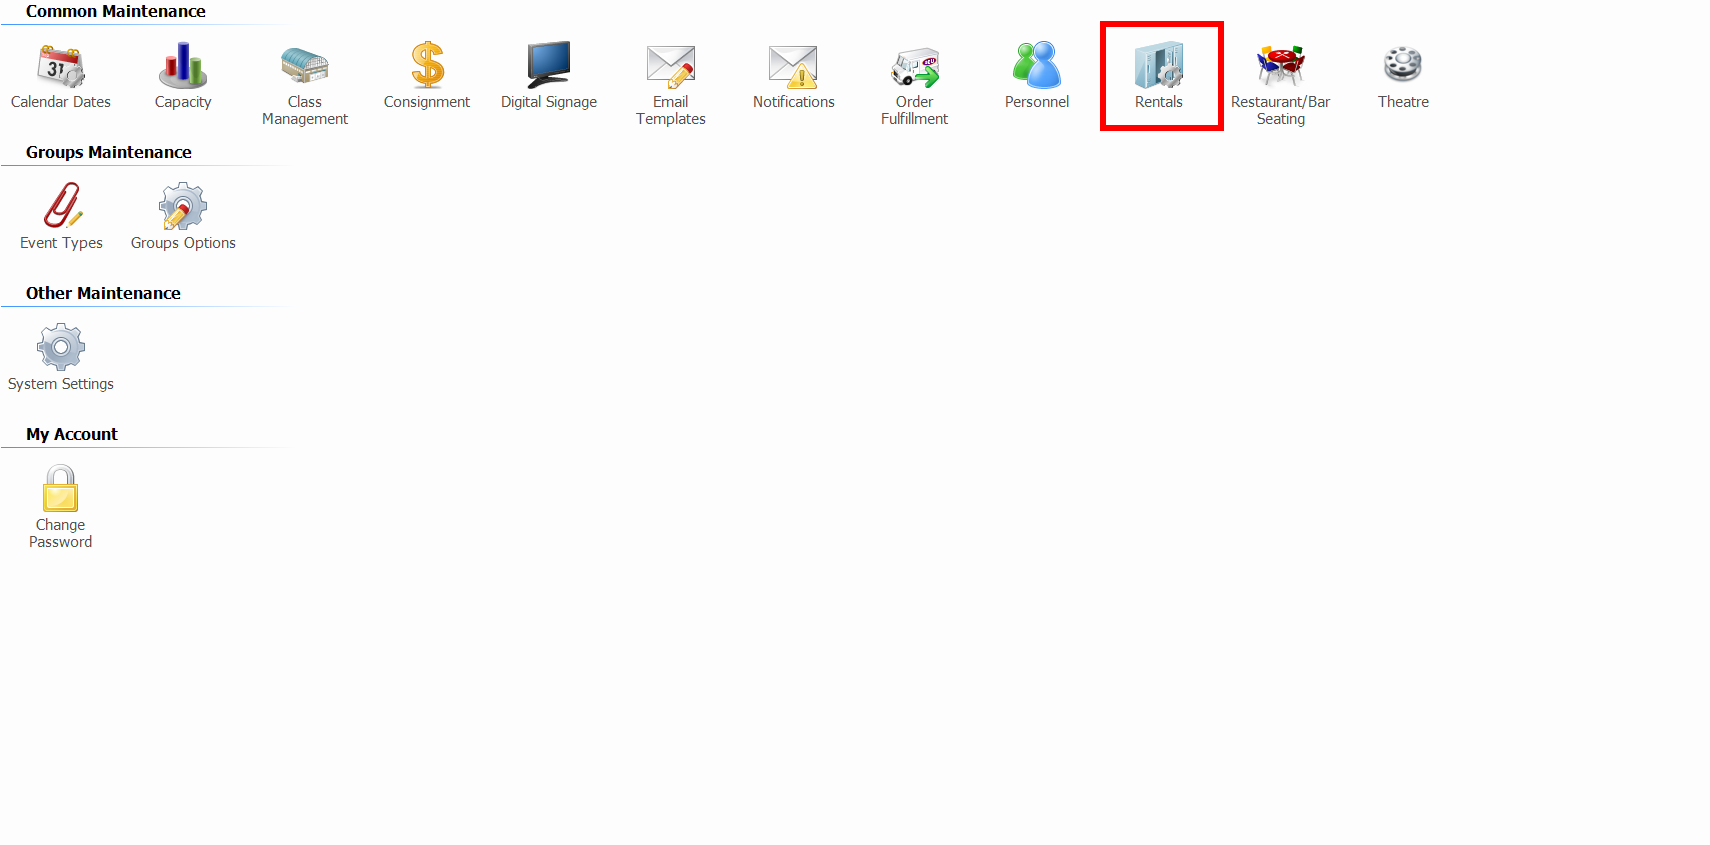
- From Manager Console, click Maintenance.
- Double-click Rentals.
- Select the Rental Type you'd like to edit from the pull-down list at the top of the window.
- Alternatively, click Add to create a Rental Type, and title it in the Description box.
- You can not Delete a Rental Type that has ever been rented or otherwise used, but you can disable one by deselecting the Enabled box.
Configure the General Tab
The General tab defines the Rental Type's description, sizes, and availability colors.
- Enter a Description, which identifies the Rental Type both in the Rentals menu and on the Point of Sale.
- Verify Enabled is selected if you want to use this Rental Type.
- Click Add Size to create a blank Size for this Rental Type.
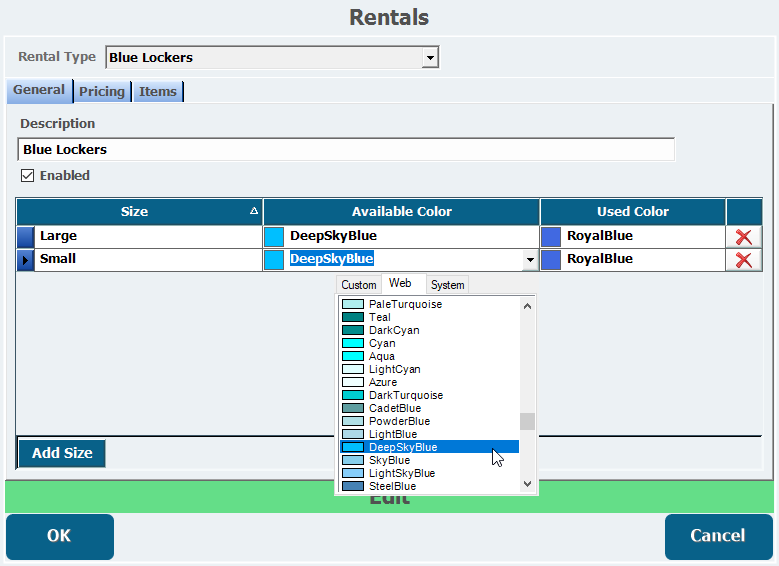
- Title this Size.
- This example is creating a Size "Small."
- Assign a color for when this Size is Available.
- This example is selecting the color "DeepSkyBlue" for the Available Color. If this size is available, it will display in this color at the POS.
- Assign a color for when this Size is Used and has been rented.
- A Red Xto the right of a size deletes it. Sizes cannot be deleted once an item from them has been reserved.
Configure the Pricing Tab
The Pricing tab lets you configure the price for various amounts of time you might want to rent out items of each size. You can also configure Deposits, and Late Fees.
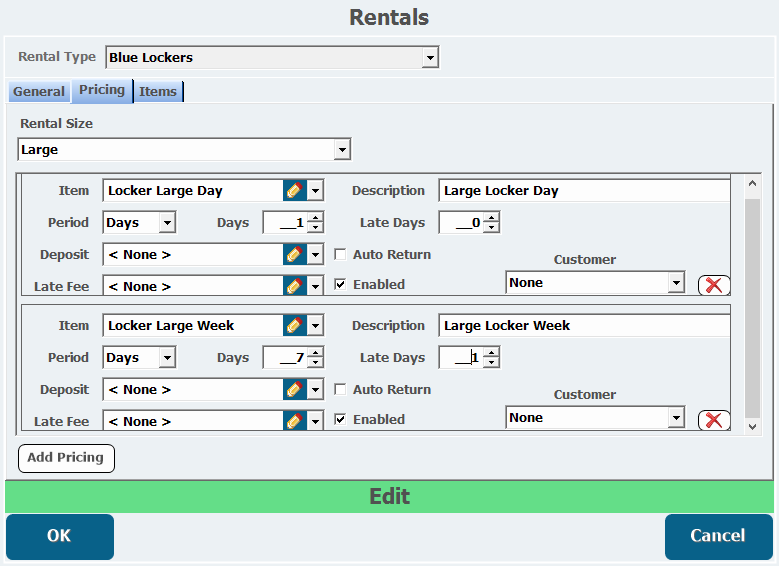
- Select the Rental Size you want to configure.
- Select an Item from your inventory to charge for this Rental period.
- If an appropriate item is not in your inventory, create one by using the Pencil icon to bring up Inventory Item Maintenance. This item's Retail Price will represent the cost for this rental period.
- Enter a Description, which should identify the item and rental period to display in this menu and the Point of Sale.
- Enter the time Period unit the rental period will be calculated in.
- This can be set to Minutes, Days, Weeks, or Years.
- Enter the number of Minutes, Days, Weeks, or Years this item will be rented for into the field to the right.
- Enter the number of Minutes, Days, Weeks, or Years after the rental period the item will be considered late into the Late field.
- The first period in the above example has a rental period of 1 day, and is immediately late after that 1 day.
- The second rents for 7 days, and is only considered late after 8 total days have passed after the item was first rented.
- The Cut-Off Day/ Date sets the exact day or date that the system begins charging late fees. This only appears when the Period is set to Weeks or Years.
- If applicable, select a Deposit item to represent the price of the security deposit for this rental period.
- Customers can be forced to forfeit this money if they return the item damaged.
-
If applicable, select a Late Fee item to represent the price charged when an item is returned late.
Late Fees are recurring and will show up as multiple charges of the late fee if the Rental is returned multiple periods late beyond the Rental Period. For example, with a daily rental item that has a Late Day Period of 3, a customer returning the item 7 days late would incur two Late Fees, as 2 three day periods would have passed since their rental was due
- The Auto Return option greys out the Deposit and Late fee items. This checkbox is used for rented spaces like rooms or pool tables, which are automatically "returned" at the end of their rental period.
- Verify Enabled is selected if you want this rental period to be visible on the Point of Sale.
-
Select whether the POS will prompt for Customer information when it is rented
-
None does not prompt for a customer's information.
-
Optional does prompt for a customer's information, but this can be bypassed.
-
Required does prompt for a customer's information, and this can not be bypassed to rent this item.
-
Required + Waiver does prompt for a customer's information, and a valid Waiver. This can not be bypassed to rent this item in. An example when a location might use this option is if a Waiver is required for the rental of a jet-ski at a beach resort.
-
-
To remove a price, click the Red X.
Configure the Items Tab
The Items tab is where you will create each specific item that can be rented out for each size.
- Select which Rental Size you want to Add Items to from the pull-down.
- This sets which Pricing settings will be used when this item is selected.
- Click Add Item to create a new blank item.
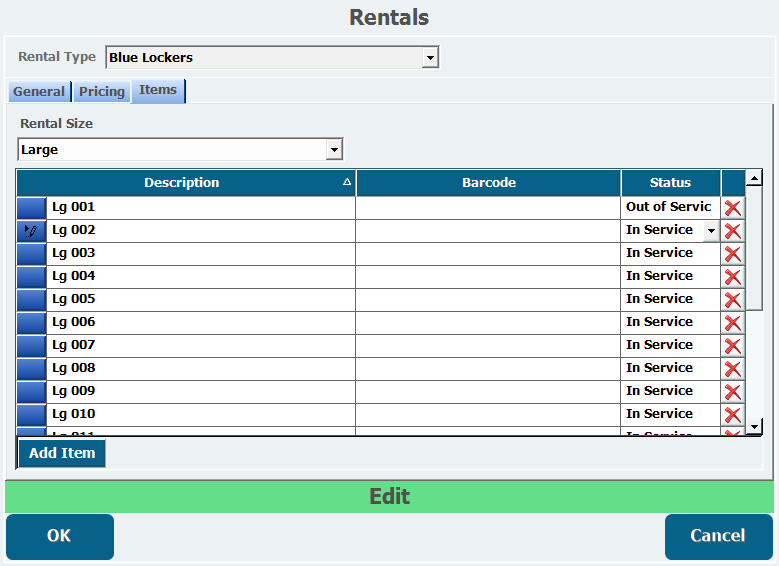
- Enter a unique Description for each item in this Rental Type.
- You do not need to identify what Rental Type these items belong to in their Descriptions, but you do need Descriptions that differentiate what Rental Size they are because all items must have unique names.
- Items can optionally have a barcode, which can be used scan and track rental items.
- Set the Status of each item.
- In Service is visible and accessible in the Point of Sale.
- Out of Service is visible and greyed out in the Point of Sale.
- Retired is not visible in the Point of Sale. As items cannot be deleted once they have been rented, Retiring an item is used to remove it permanently from the Point of Sale, but Retired items can always be added back later if needed by setting them as In Service.
- To delete an item, if it has not been rented, click the Red X.
- From the Point of Sale, click the Rentals button along the bottom of the main screen.
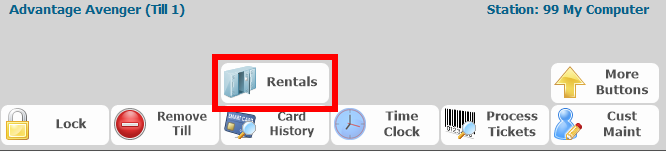
- The Rental Types are listed along the left margin.
- Click one of these to bring up all Rental Items of that Rental Type.
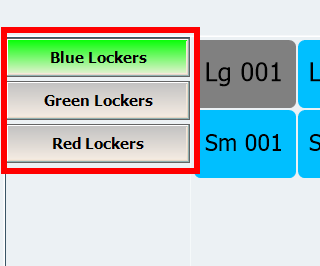
- All Rental Items for every Size are displayed in different colors depending on what you configured as the Available and Used colors in the Rental Type configuration. Additionally, items that have been added to a transaction that hasn't been completed will display in gray with white text. Items Out of Service, will display in gray with black text.

- All Rental Items for every Size are displayed in different colors depending on what you configured as the Available and Used colors in the Rental Type configuration. Additionally, items that have been added to a transaction that hasn't been completed will display in gray with white text. Items Out of Service, will display in gray with black text.
- Click an Available item to reveal a set of options.
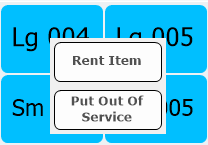
- Rent Item reveals any rental period options for the item.
- Put Out Of Service turns the button gray and moves the Status of this Rental Item to Out Of Service.
- Click Rent Item to display the time periods for which this item can be rented.

- Select the time period, which adds the item to your transaction.
Completing that transaction begins that item's rental period. The item will then be marked as unavailable until it is returned.
Rental Returns- When a customer brings back an item to be returned, click the Rentals button again.
- Click the Rental Type they are returning.
- The list of all items will display with the currently rented items in the Unavailable color you configured for the Rental Size.
- Click the correct item they are trying to return.
- Choose an option from the list of selections that display.
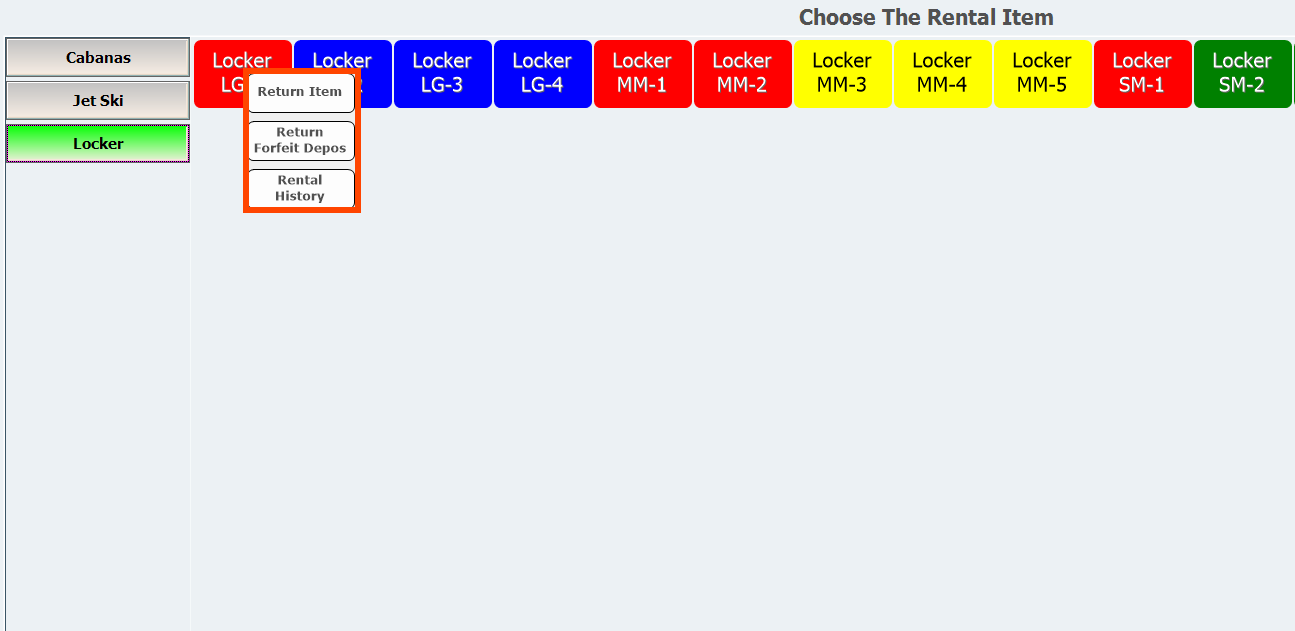
- To perform a return on an undamaged item, click Return Item.
- To keep the deposit money for a damaged item, click Return Forfeit Deposit.
- To view information about this rental period, click Rental History.
- When you have selected a return option, complete the transaction.
- If there was a deposit on the item, and you selected Return Item, the transaction will show you owe the customer that amount of money.
- If a late fee was incurred, that amount will show as being due in the transaction.
Once returned, the item will display in the Available color and can be rented out again.