General Ledger (G/L) numbers are used for a site's accounting, and to monitor site inventory, sales, cost, and other important values. Advantage allows you to map these numbers and export them for use in external accounting software.
Adjusting the Export Settings
If you are not using an integrated accounting software, you will need to export G/L records as CSV files.
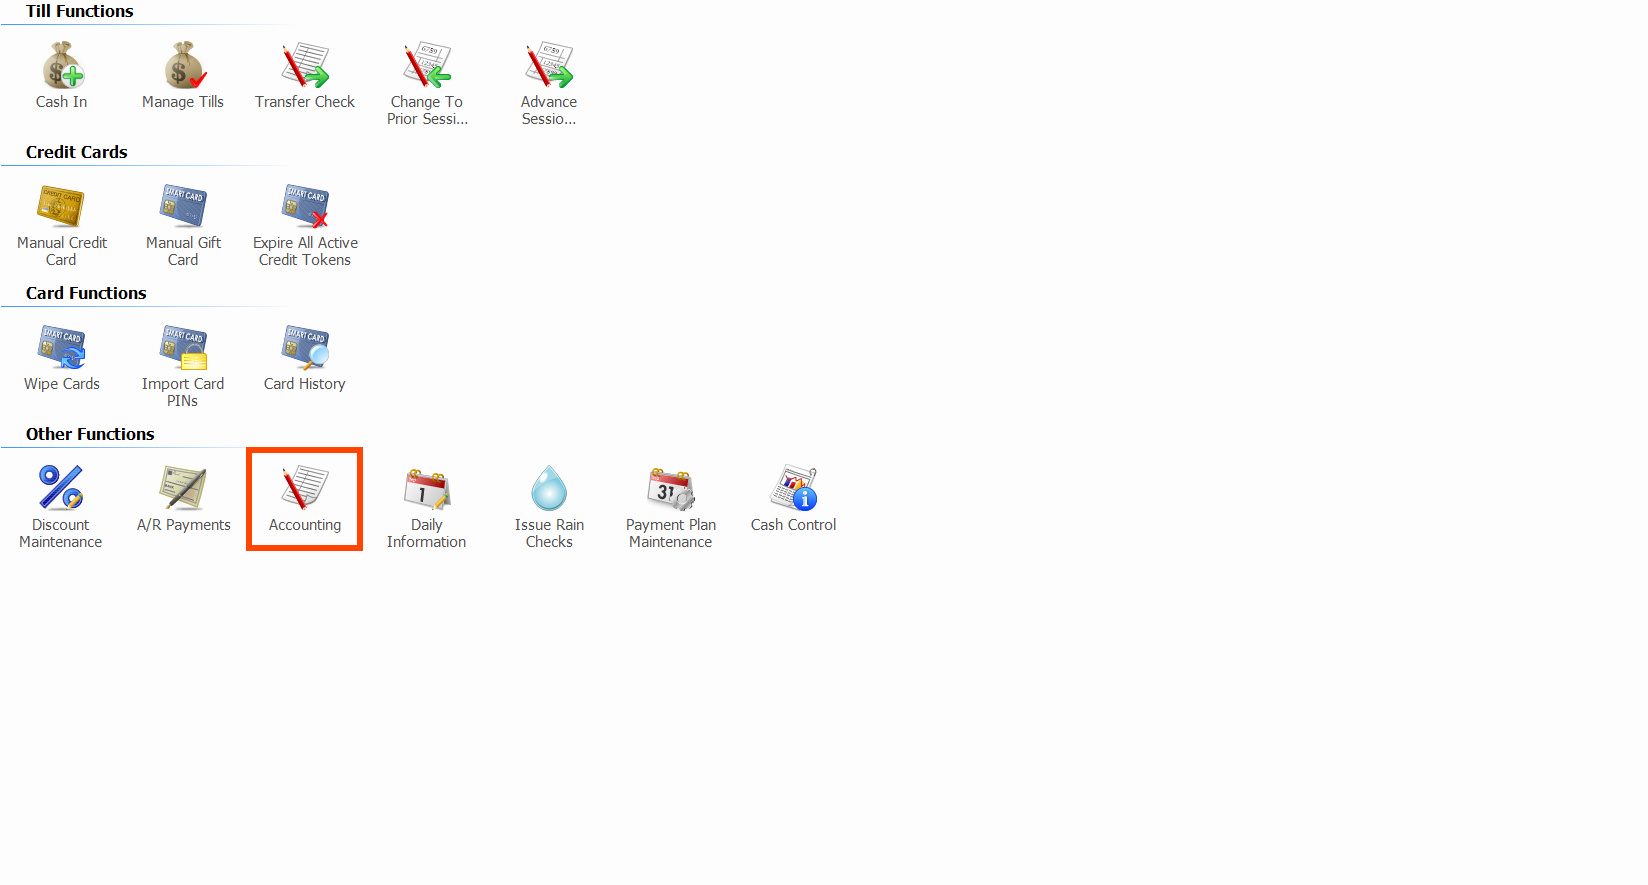
- From Manager Console, click Cash Control.
- Double-click Accounting.
- Double-click Settings.
-
Select Comma-Delimited CSV as the Export Type if it is not already selected.
If your Export Type was not already CSV, you will see a warning that you have to re-map your G/L numbers.
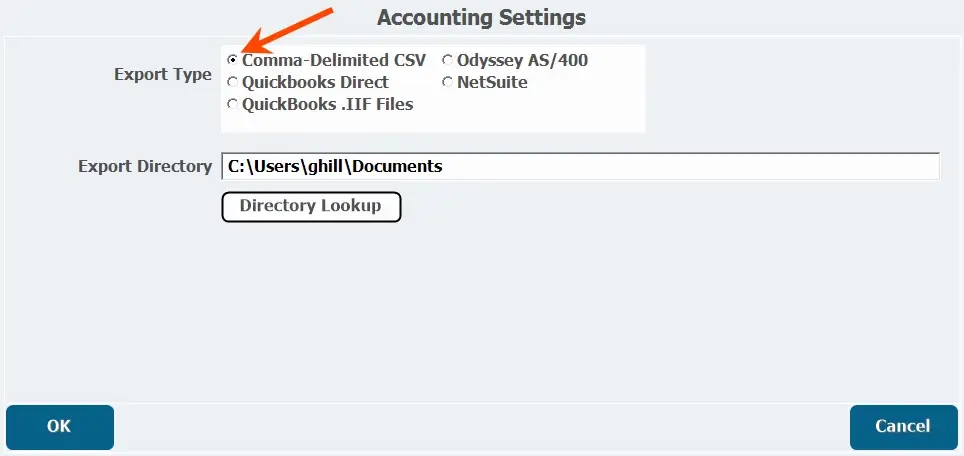
- Choose the Export Directory where you want to save the file.
- Click OK.
If your Export Type was not already CSV, you will see a warning that you have to re-map your G/L numbers.
Defining G/L Numbers
G/L numbers are how the accounting software will look at the inventory accounts.
- From the Accounting screen, double-click G/L Numbers.
- To add a new G/L number, click Add A New G/L Number at the bottom of the screen.
-
Enter the G/L number in the G/L Number column.

We recommend you use a 3-digit by 2-digit number format and starting at 400 for sales, although G/L numbers can also be text based.
- Enter a Description.
- Select a Number Type, which will most often be Sales.
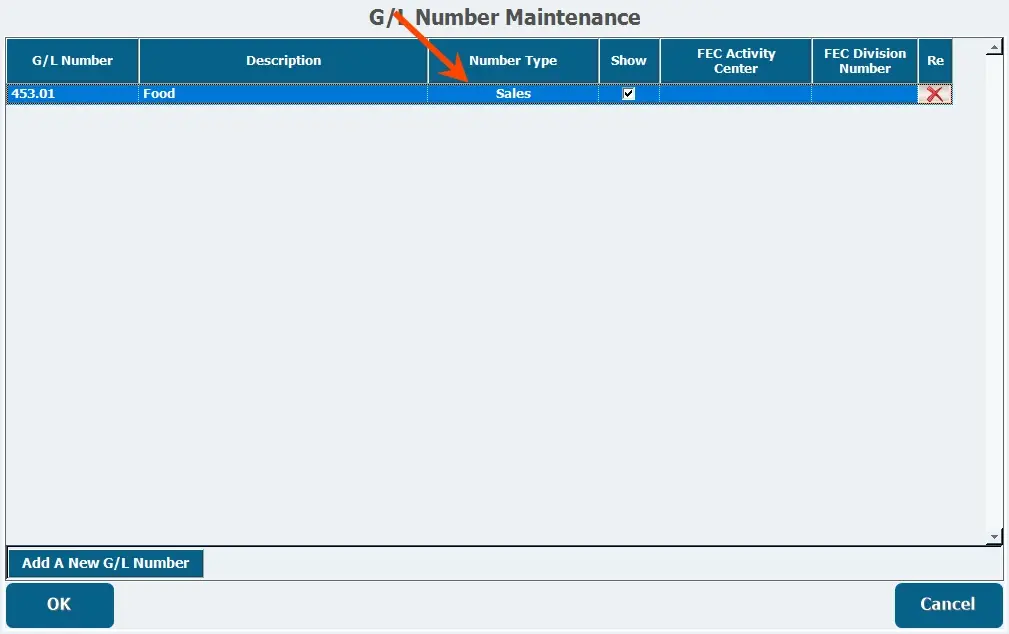
- Repeat for any other G/L numbers you want to add.
- Click OK.
We recommend you use a 3-digit by 2-digit number format and starting at 400 for sales, although G/L numbers can also be text based.
Linking G/L Numbers to Inventory Accounts
Each category and sub-category of items needs to be linked to a G/L Number so the accounting software knows what to do with the data you export.
- From the Accounting screen, double-click G/L Mappings.
- Select the G/L numbers from the pull-down for each item under the respective column depending on what that category is.
-
If there are no G/L numbers that fit a particular item, you can create a new one here by clicking the Green Plus.
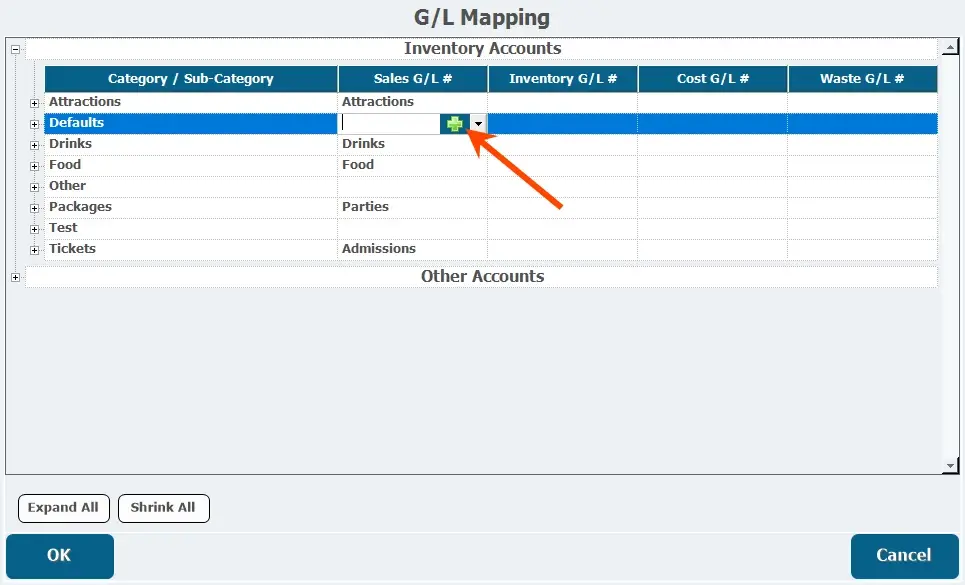
Any accounts that are not assigned a G/L number will export as adjustments.
- Click OK.
Any accounts that are not assigned a G/L number will export as adjustments.
Exporting Sales Summaries
For accounting software that isn't directly integrated with Advantage, including Quickbooks Online, you can export sales data as a CSV to be imported into it.
- From the Accounting page, double-click Sales Summary Export.
- Select the date range from which you want to export data.
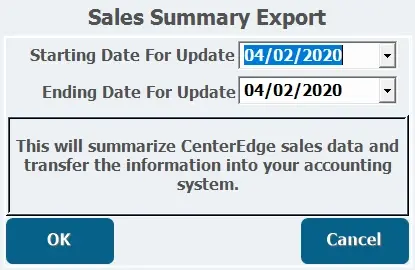
- Click OK.
- Click Yes to confirm the export.
- A highlighted message will appear saying the data is being exported, and a new window will open for you to confirm the export location or select a new location to save the report.
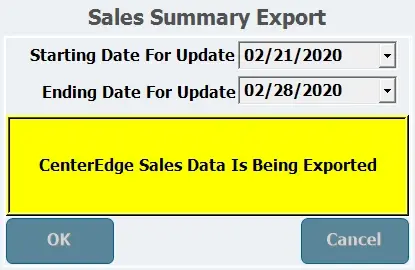
- A highlighted message will appear saying the data is being exported, and a new window will open for you to confirm the export location or select a new location to save the report.
- Click Save when you are in the directory to which you want the file to save.
- Click Press to Continue.
- The data is now ready to be imported into an accounting software.
- accounting.png
- Set New GL Number.png
- Sales Summary Report Screen.png
- Sales Summary Report Button.png
- Report date range selection.png
- Remap GL Numbers Warning.png
- GL number type.png
- GL number description.png
- Export Type.png
- Export Sucessful.png
- Export Directory.png
- Export confirmation.png
- Data being exported.png
- Alternate GL number creation.png
- Add new GL number.png
- Camtasia-GL Mapping.mp4