Only a description, a type of item, a category, and a subcategory are required fields for creating an item. Use the other fields depending on the item usage. The following document is separated by item tabs.
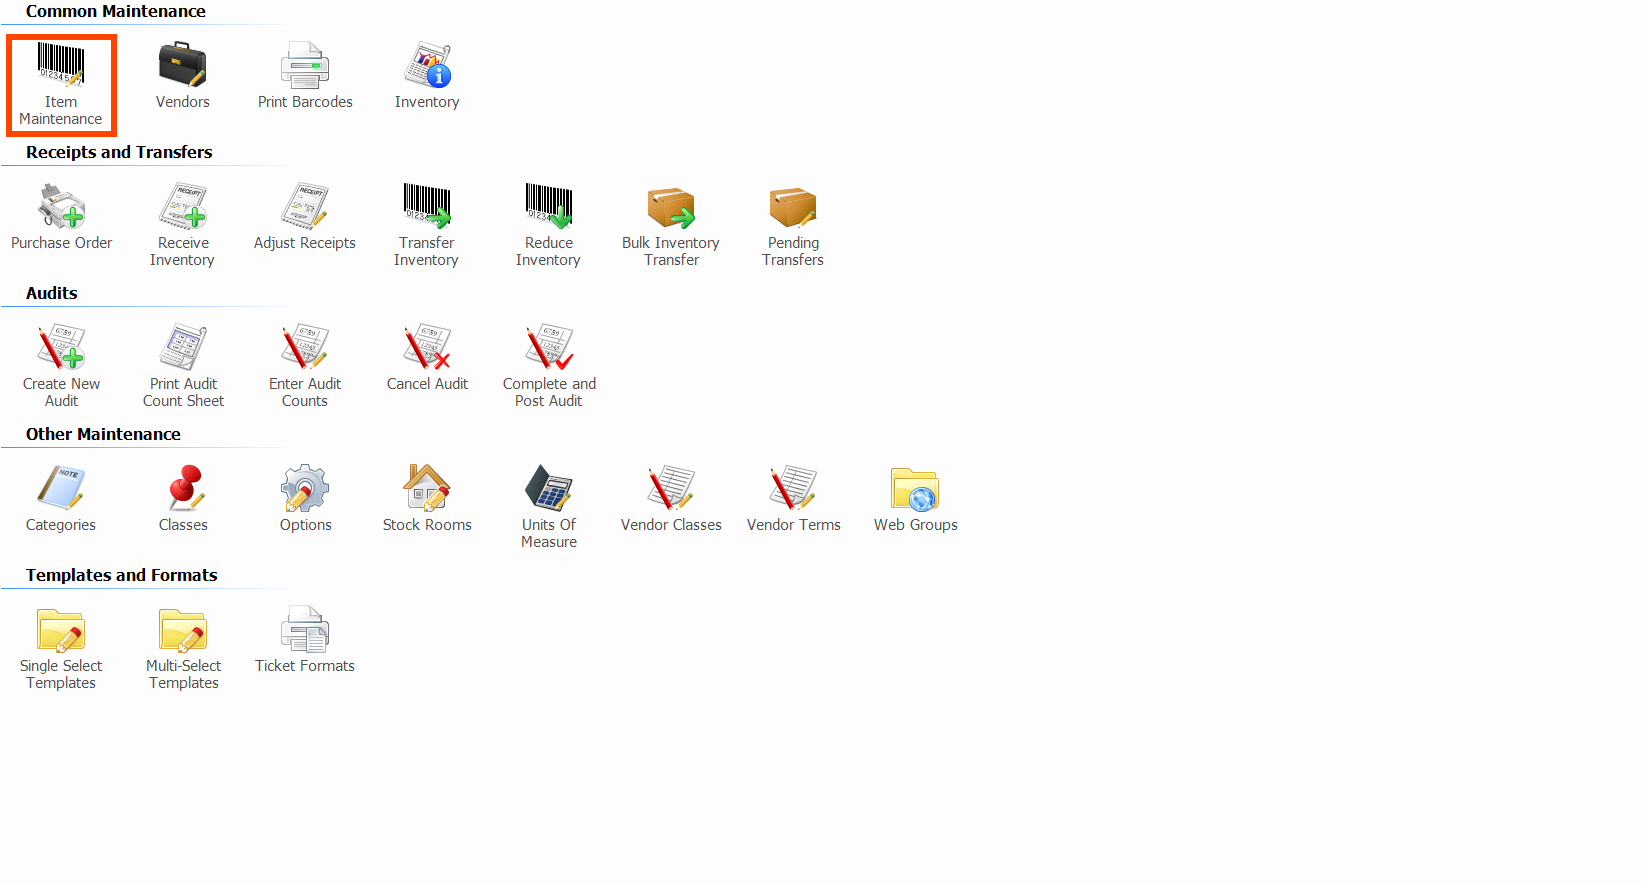
General- From Manager Console, click Inventory.
- Double-click Item Maintenance.
- Click Add.
- Enter the item Description, which must be unique and less than 30 characters.
- Select Retail Item for the Type of Item.
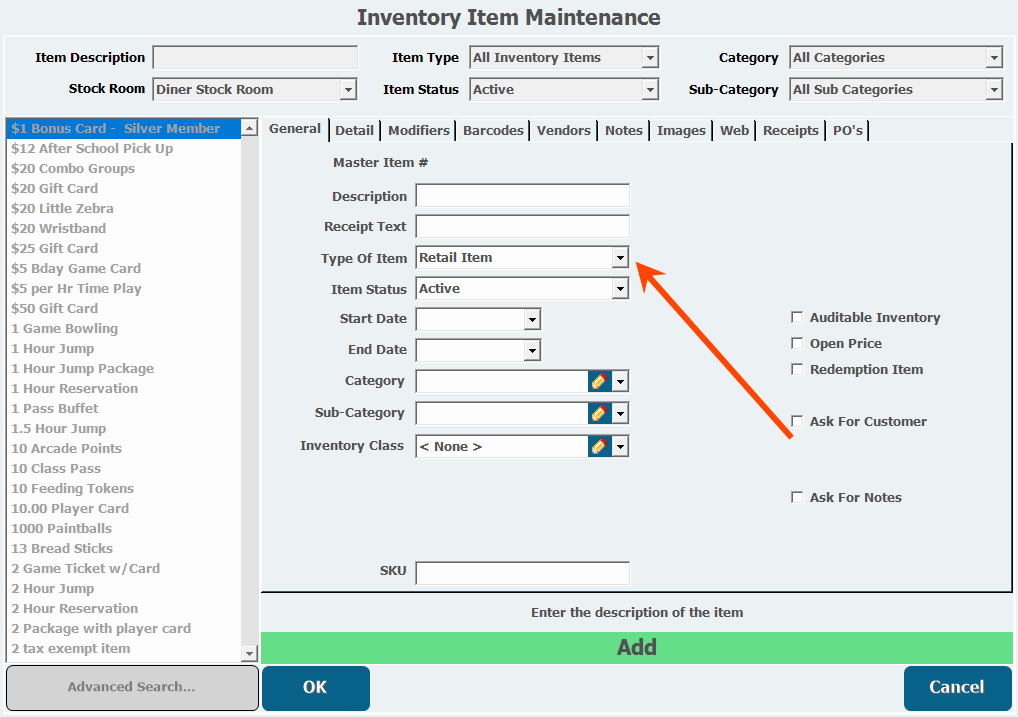
- The Item Status will default to Active. If the item is not in use, choose Retired, Suspended, or Undecided.
- To begin the sale of the item at a later date, select a Start Date from the pull-down calendar.
- To expire the sale of the item at a later date, select an End Date from the pull-down calendar.
- Select the correct Category and Sub-category.
- If you need to add one or both, click the pencil icon. Categories and subcategories determine the location of the item on your sales reports. Additionally, subcategories determine how an item is taxed.
- If applicable, select an Inventory Class.
- If you need to add or edit inventory classes, click the pencil icon.
- Select the Auditable Inventory box if you want the item to be tracked for inventory control, so you know how much you have on hand.

- Select the Open Price box if you want the item to prompt for the price at the time of sale.
- Select the Redemption Item box if you will be using the item as a prize in the Redemption application.
- Select the Ask for Customer box if you want the item to prompt you to select a customer at the time of sale.
- If Ask for Customer is selected, select whether a waiver, a membership, none, or both are required to purchase the item.
- Select the Ask for Notes box if you want the item to prompt you to enter notes at the time of sale.
- Open the Detail tab.
- Enter a Retail Price, which is what the item will cost customers.
- If the item will have a different price based on the day of the week, click Day Pricing. See how to configure Day Pricing here: Configure Day Pricing.
- If necessary, for reference purposes, enter a Mark up Percent.
- Select whether the item is taxable, not taxable, or whether the tax is included in the price.
Tax rates are configured per sub-category.
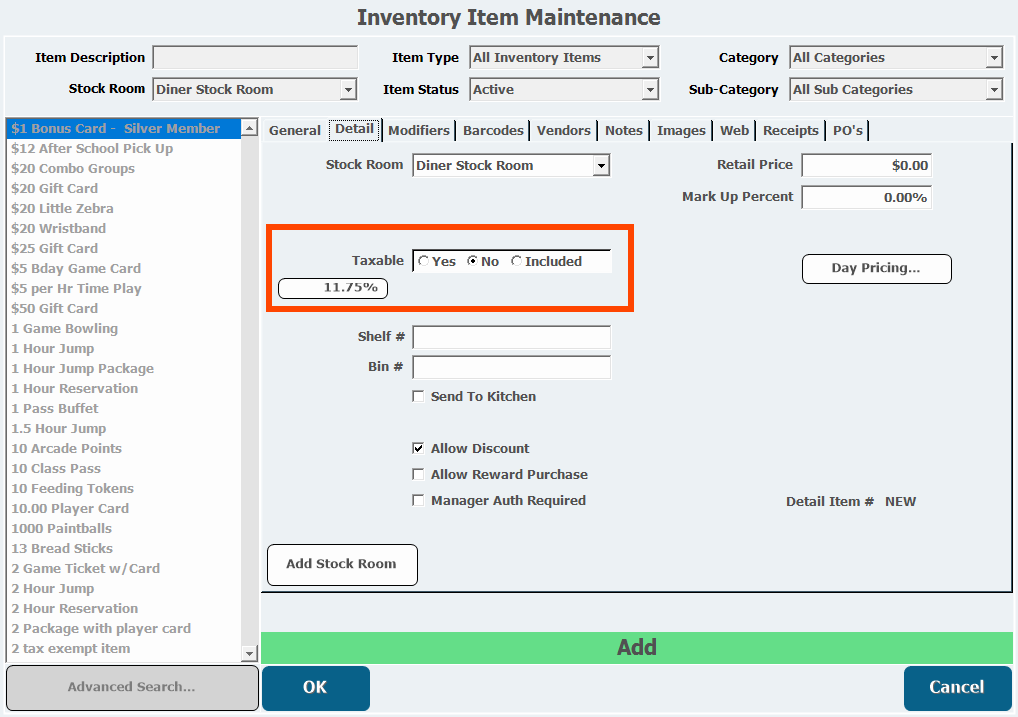
- If necessary, enter a Shelf # and/or Bin# where the item is stored.
- To send a notification of purchase to a kitchen printer, select Send to Kitchen.
- Select the printer from the Kitchen Device pull-down list.
- Select the Allow Discount box if you want to be able to apply discounts to this item.
- If this is not selected, the item will not be available for discounting, even by a manager.
- To allow this item to be purchased with rewards points, select Allow Reward Purchase.
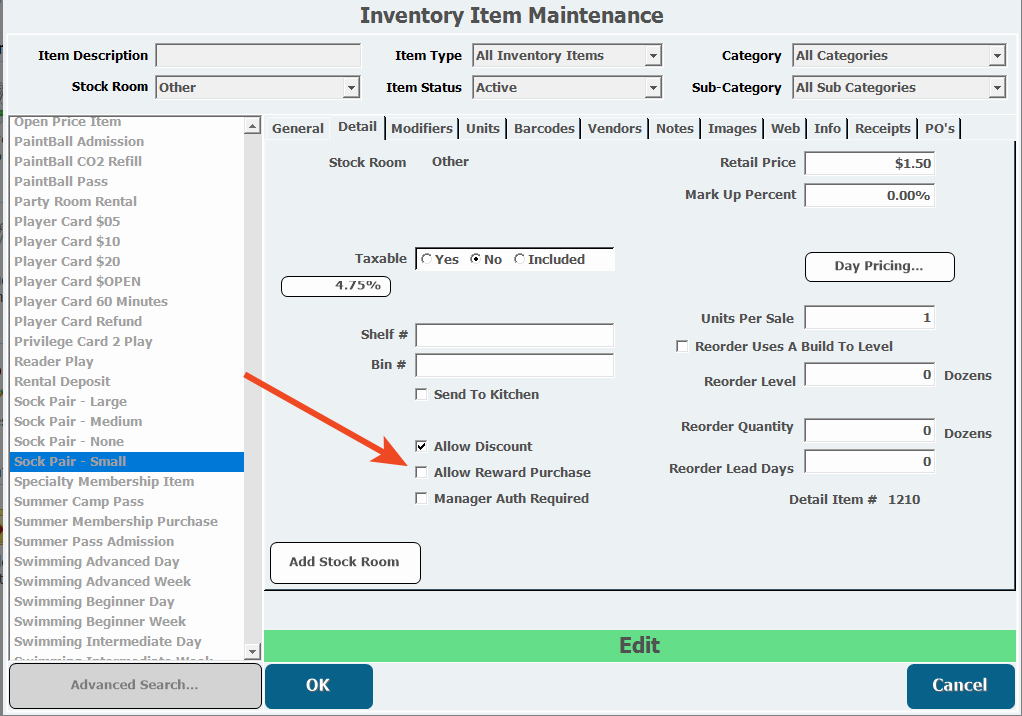
- Select Manager Auth Required to require manager approval for the purchase of the item.
- To add the item to a stock room, click Add Stock Room.
- Select a Stock Room from the pull-down list.
- Click OK.
- If you add an item to a stock room, the Detail tab interface changes to a list of stock rooms. You can edit pricing and tax information by clicking a stock room and clicking Edit Stock Room. You can add or delete stock rooms as necessary.
- Items with Auditable selected on the General tab will display a build to order section on this tab, which you can read more about her: Unit Types and Units of Measure.
- Open the Modifiers tab.
Add modifiers as necessary. Learn more about modifiers here: Modifiers
Barcodes- Open the Barcode tab.
- Enter a barcode or click Auto Generate Barcode, if applicable.
- If you assign multiple barcodes to one item, select which is the primary barcode.
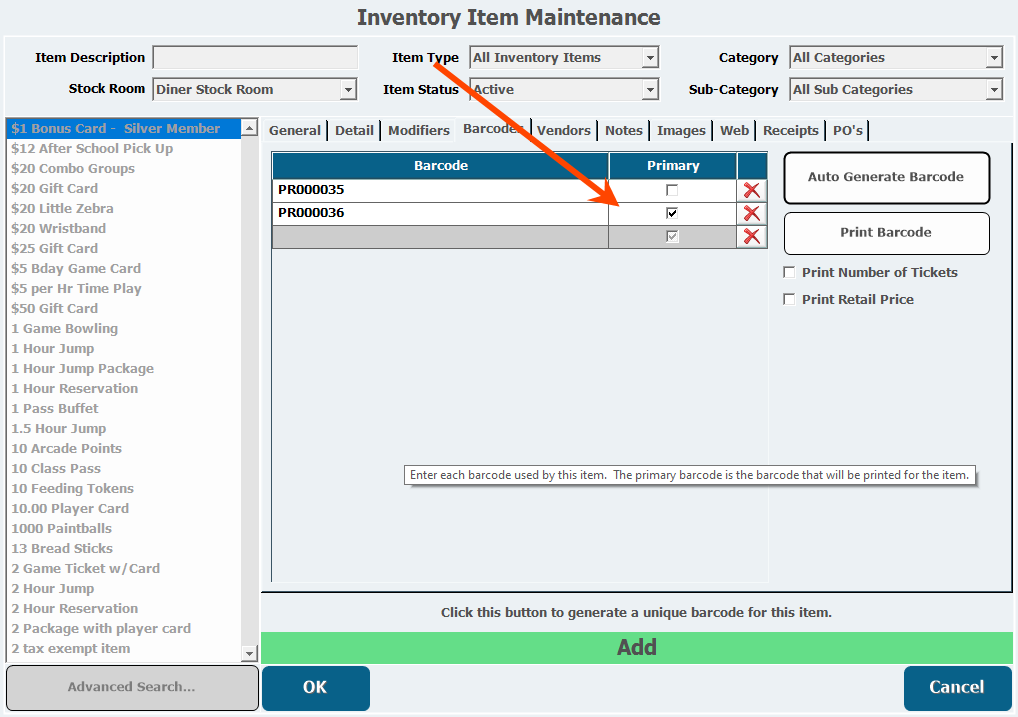
- To print the primary barcode, click Print Barcode.
- Select whether to print the number of tickets the item is worth or the retail price.
- Open the Vendors tab.
- If you already have your vendors set up, click Add Vendor. If you need to create vendors to add to your item see: Create an Inventory Vendor
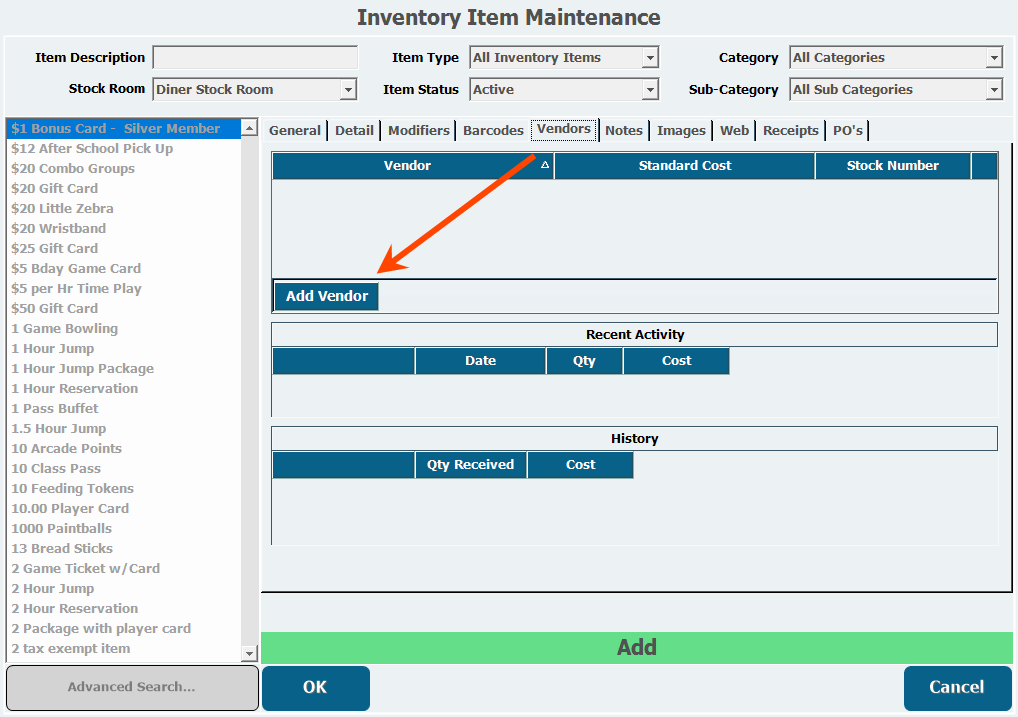
- Select a vendor from the pull-down list.
- Enter the Standard Cost.
- Enter a Stock Number.
- Add additional vendors as necessary.
- Open the Notes tab.
- Enter any notes about the item.
- Open the Images tab.
- Read about adding images for display on the web here: Adding Retail Item Images.
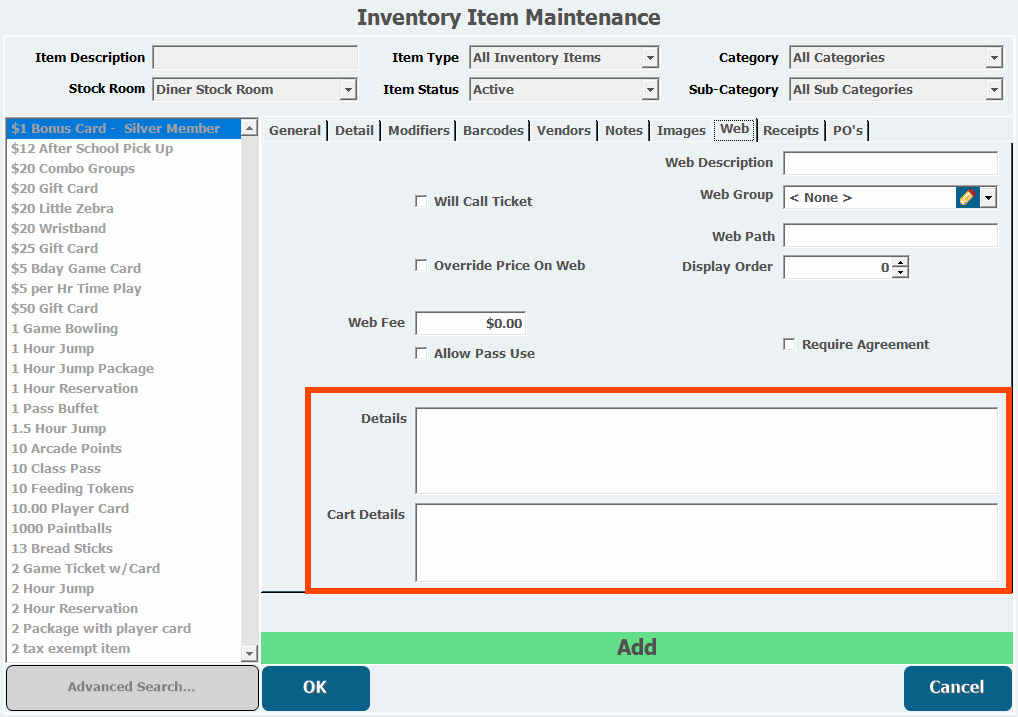
- Open the Web tab.
- Choose a Stock Room from the pull-down list.
- If the item will be called something else online, enter the title in the Web Description field.
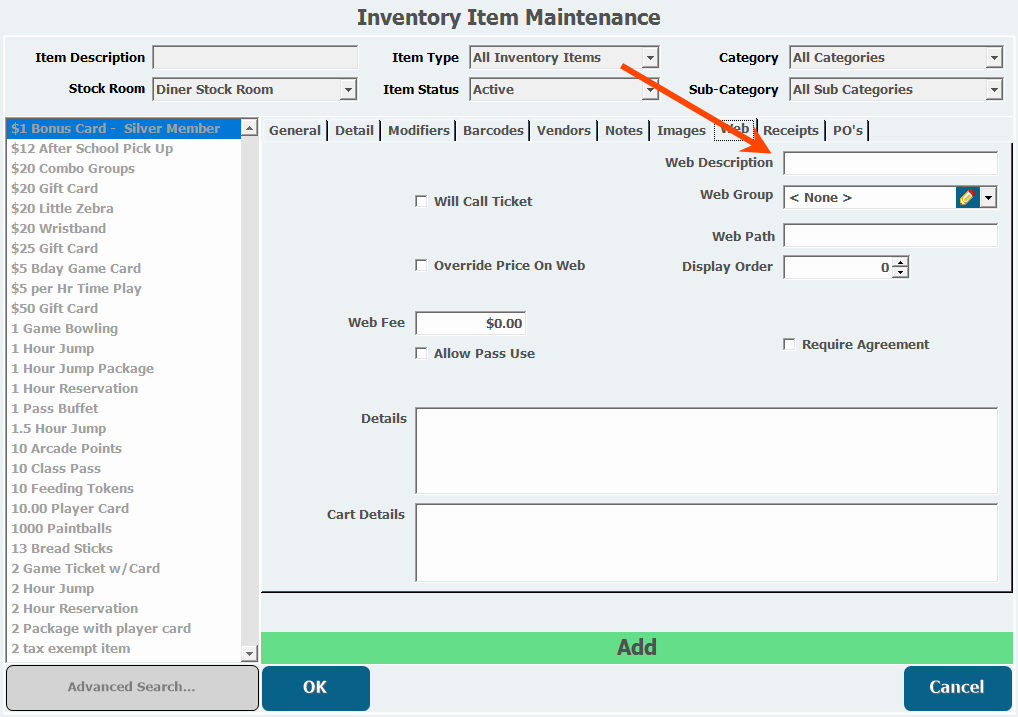
- If the item will be redeemed on location after purchase, select Will Call Ticket.
- Choose a Ticket Format..
- Select a Web Group from the pull-down list if applicable.
- Enter a path the item should appear under in the Web Path field.
- This field can't be blank if you want to be able to browse to the item on the web.
- If the item will have a different price online than in the store, select Override Price on Web.
- Enter a Web Price.
- Enter a Web Fee if there will be an additional charge for purchasing online.
- Enter a Display Order.
- If the customer is able to redeem a pass for the item online, select Allow Pass Use.
- If the customer will be required to accept an agreement to purchase this item online, select Require Agreement.
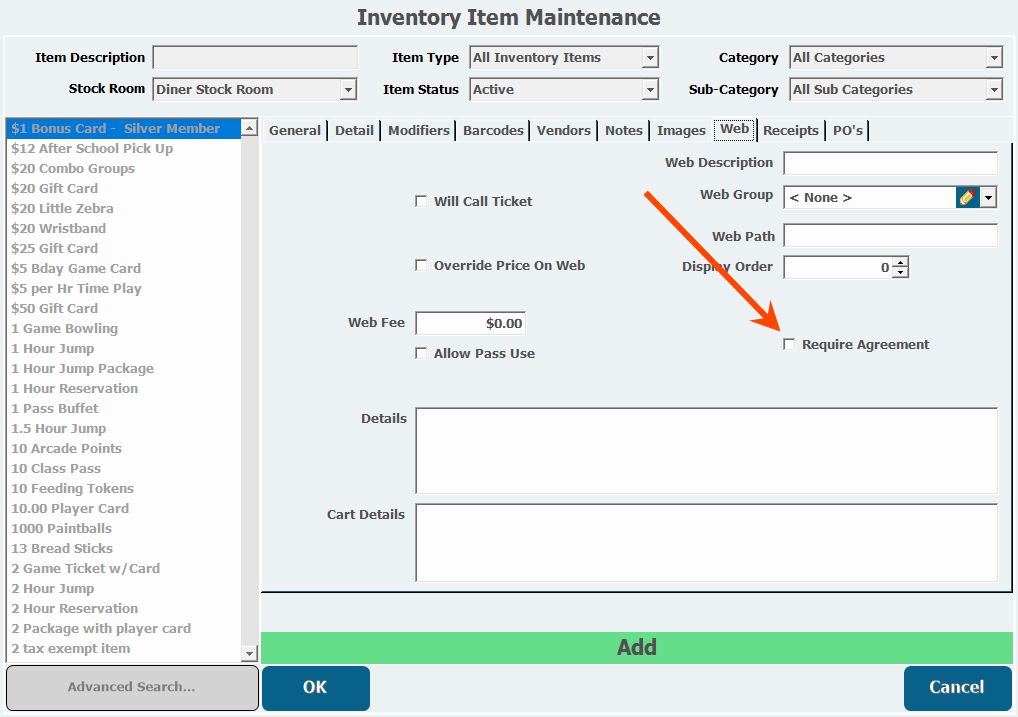
- Click Edit Agreement.
- Type the agreement in the space provided.
- Format the agreement with HTML, if necessary.
- Click OK.
- Enter a description of the item that will display online in the Details field.
- Enter a description of the item that will display when the item is in the cart in the Cart Details field.
- Open the Info tab.
- If this is an auditable item, to view information about the item for a particular stock room, select a Stock Room.
- To view stock room quantities, click Display QOH Summary.
- To view who has made changes to the item, click Display Audit Info.
- The Receipts tab lets you view your receipt history.