Auditing can help you account for your inventory and give you clues as to why you may have inventory missing. This process involves generating an audit count sheet, which may or may not have your expected inventory counts displayed, and then actually counting the items and noting discrepancies.
Audit lists only account for inventory that is present when it is created. It is important to create the audit not long before you are counting the items because the numbers may have changed if you use one created too far in the past.
You can only have 1 audit open at a time with a specific item type in it. For example, if you have an audit open with all your pizza items in it, you cannot create an audit with all food because the pizza items are included in another open/active audit. To add the pizza items, the open/active audit with those items needs to be completed or cancelled.
Creating An Audit
Before performing the audit, you must generate an audit count sheet to record your numbers.
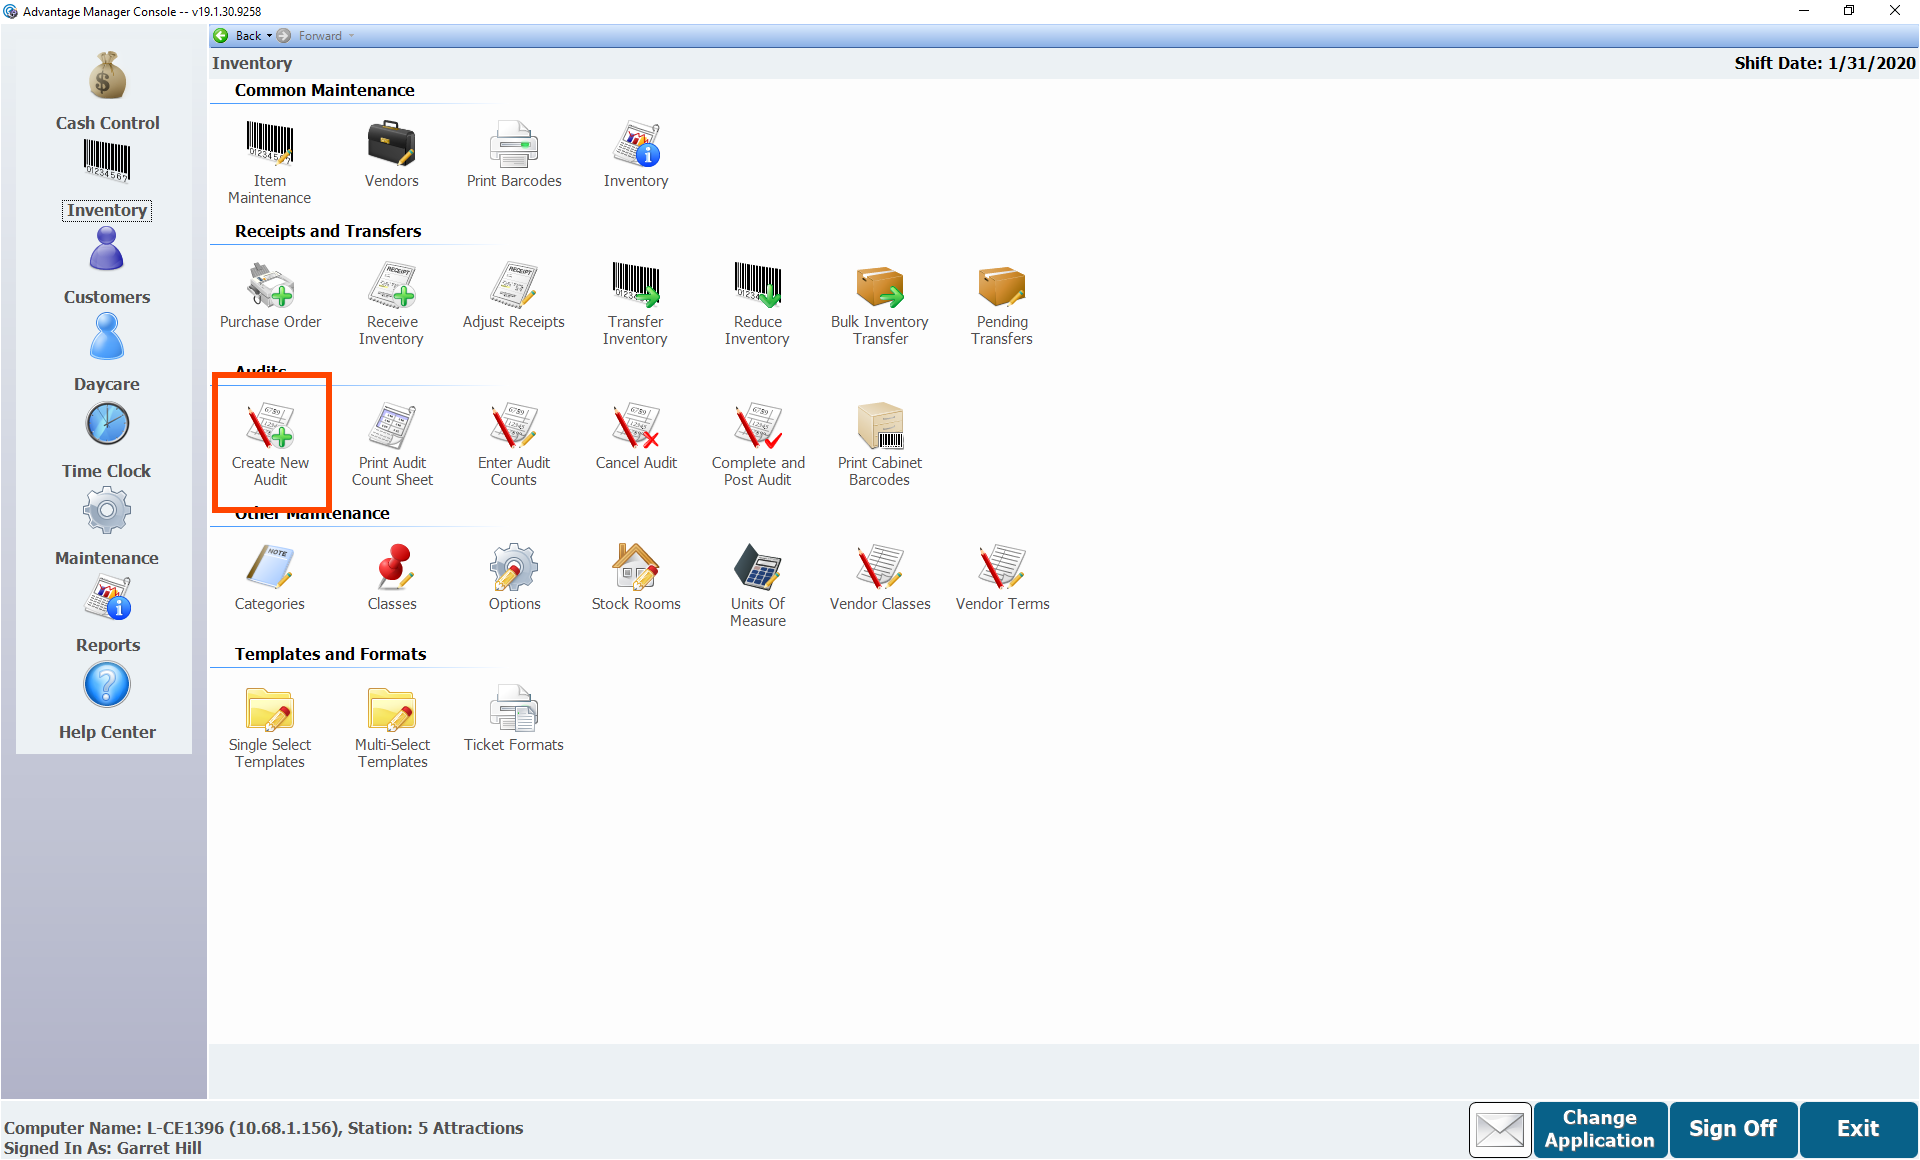
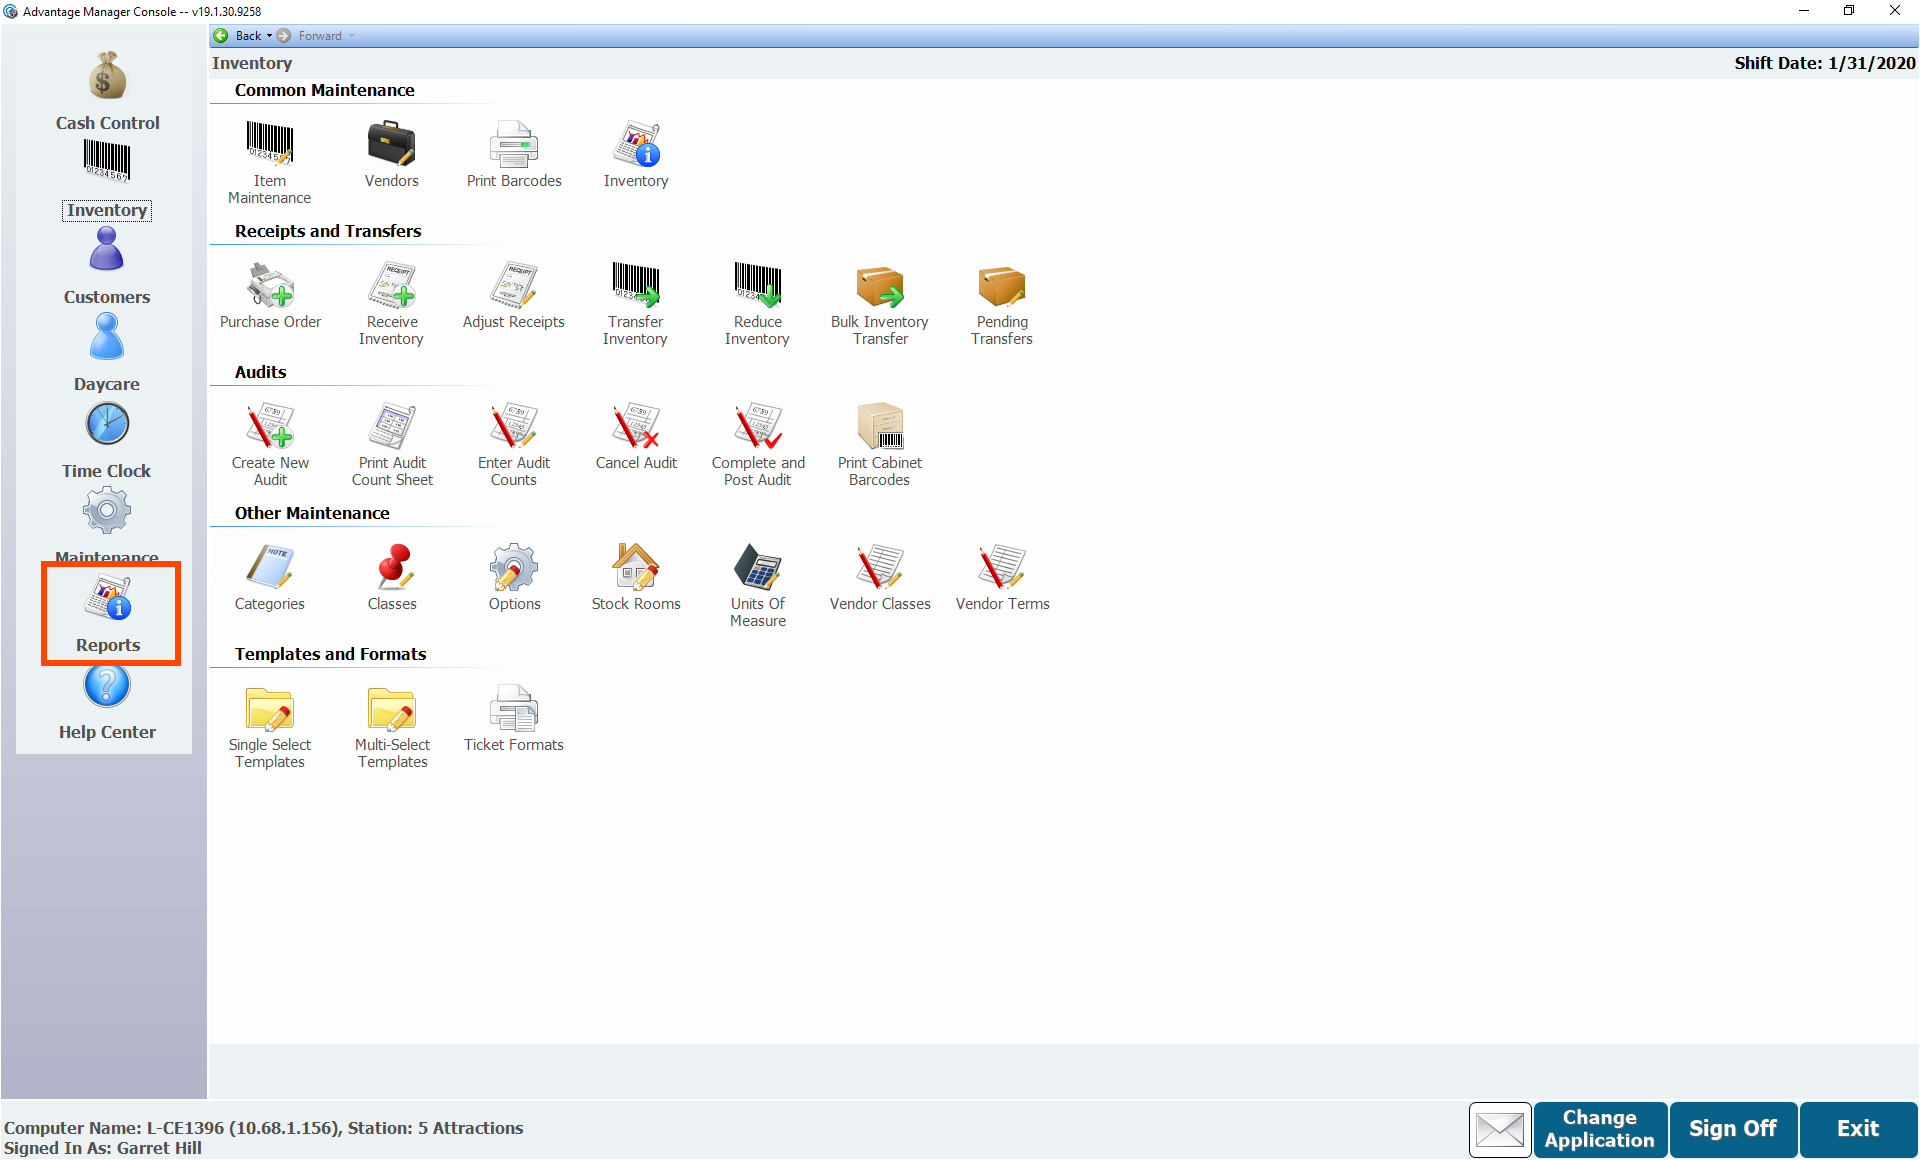
- From Manager Console.
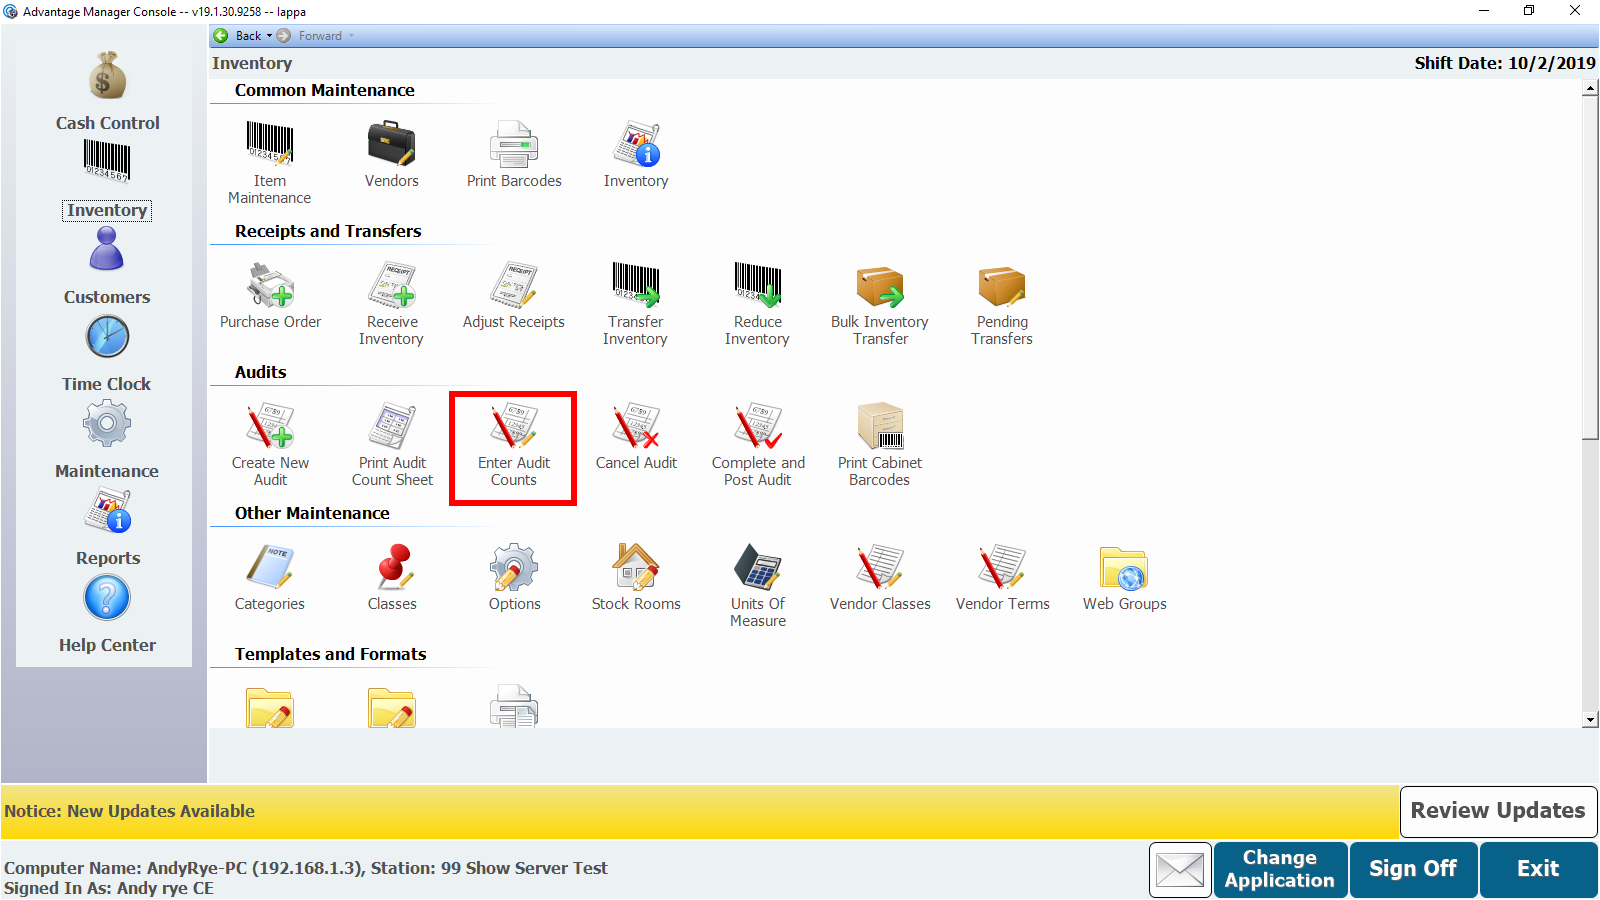
- Click Inventory.
- Double-click Create New Audit.
- Select the Stock Room this audit will be counting.
- Enter a Description for the audit.
- Best practice is to include the date the audit covers in the description because it doesn't display when you select the audit to enter counts or when you post the audit.
- Choose the dates that the audit will cover by selecting the Audit Cover Dates.
- Select the Audit Method.
- The Blind audit doesn't provide any numbers indicating how much should be on hand.
- The Show Quantity on Hand, Enter All Counts displays the quantity on hand and allows you to enter every item counted.
- The Show Quantity on Hand, Enter Only Differences displays the quantity on hand and allows you to enter only differences between the quantity on hand and quantity counted.
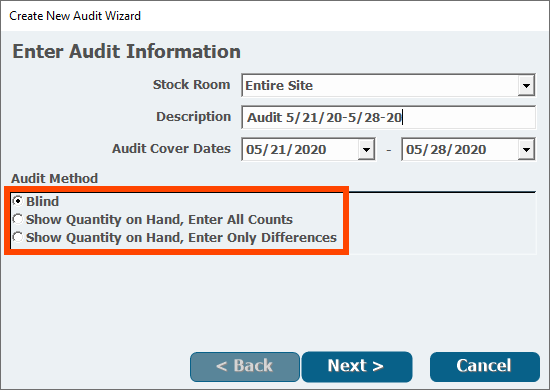
- Click Next.
- Select the Audit Categories, which are the Categories you want to include in the audit.
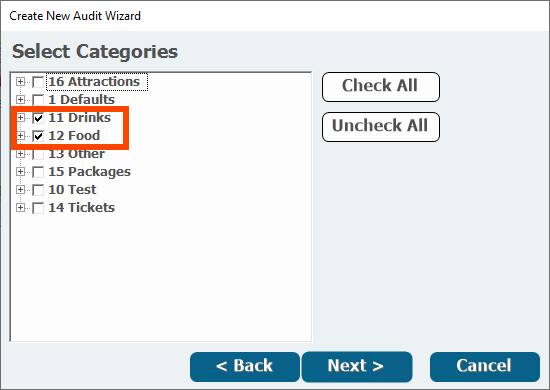
- Click Next.
- Select the Item Types and Classes to include.
Item classes are an older form of classifying items that your site probably doesn't use. Leaving Unclassified selected is usually the best option.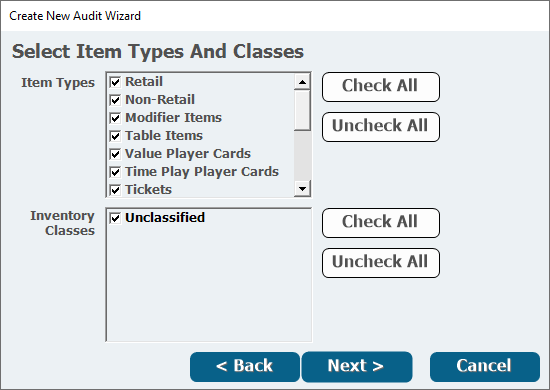
- Click Next.
- Select a Vendor if you want to inventory items from a specific vendor.
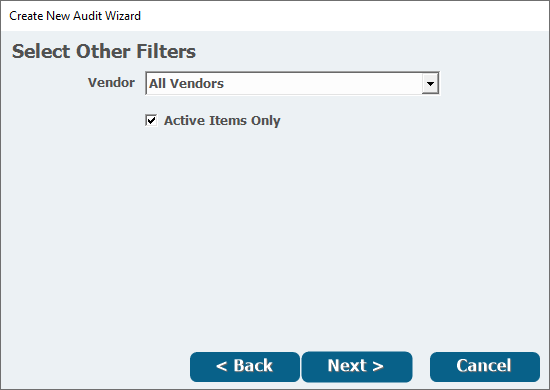
- Click Next.
- A confirmation of items that will be in the audit appears.
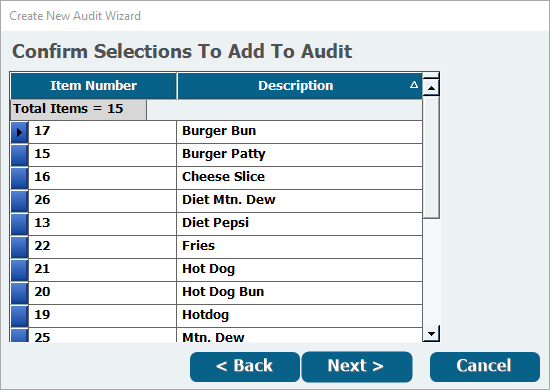
- A confirmation of items that will be in the audit appears.
- Click Next if all the items are correct.
- Select Yes or No depending on whether you have more items to add to the audit.
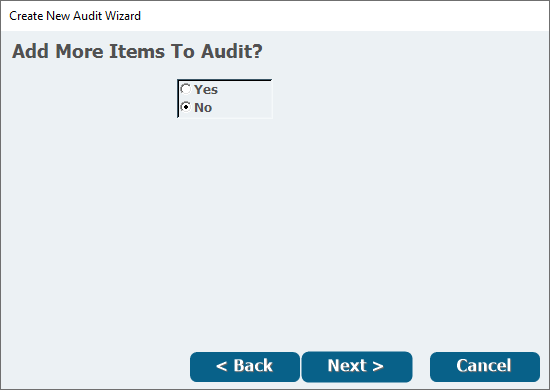
- Click Next.
- Click Finish to create the audit.
- An audit count sheet will open. It may take a few minutes to appear. This sheet can be printed if necessary.
- Click Close.
- You can open the Audit Count Sheet again by clicking Print Audit Count Sheet in Inventory.
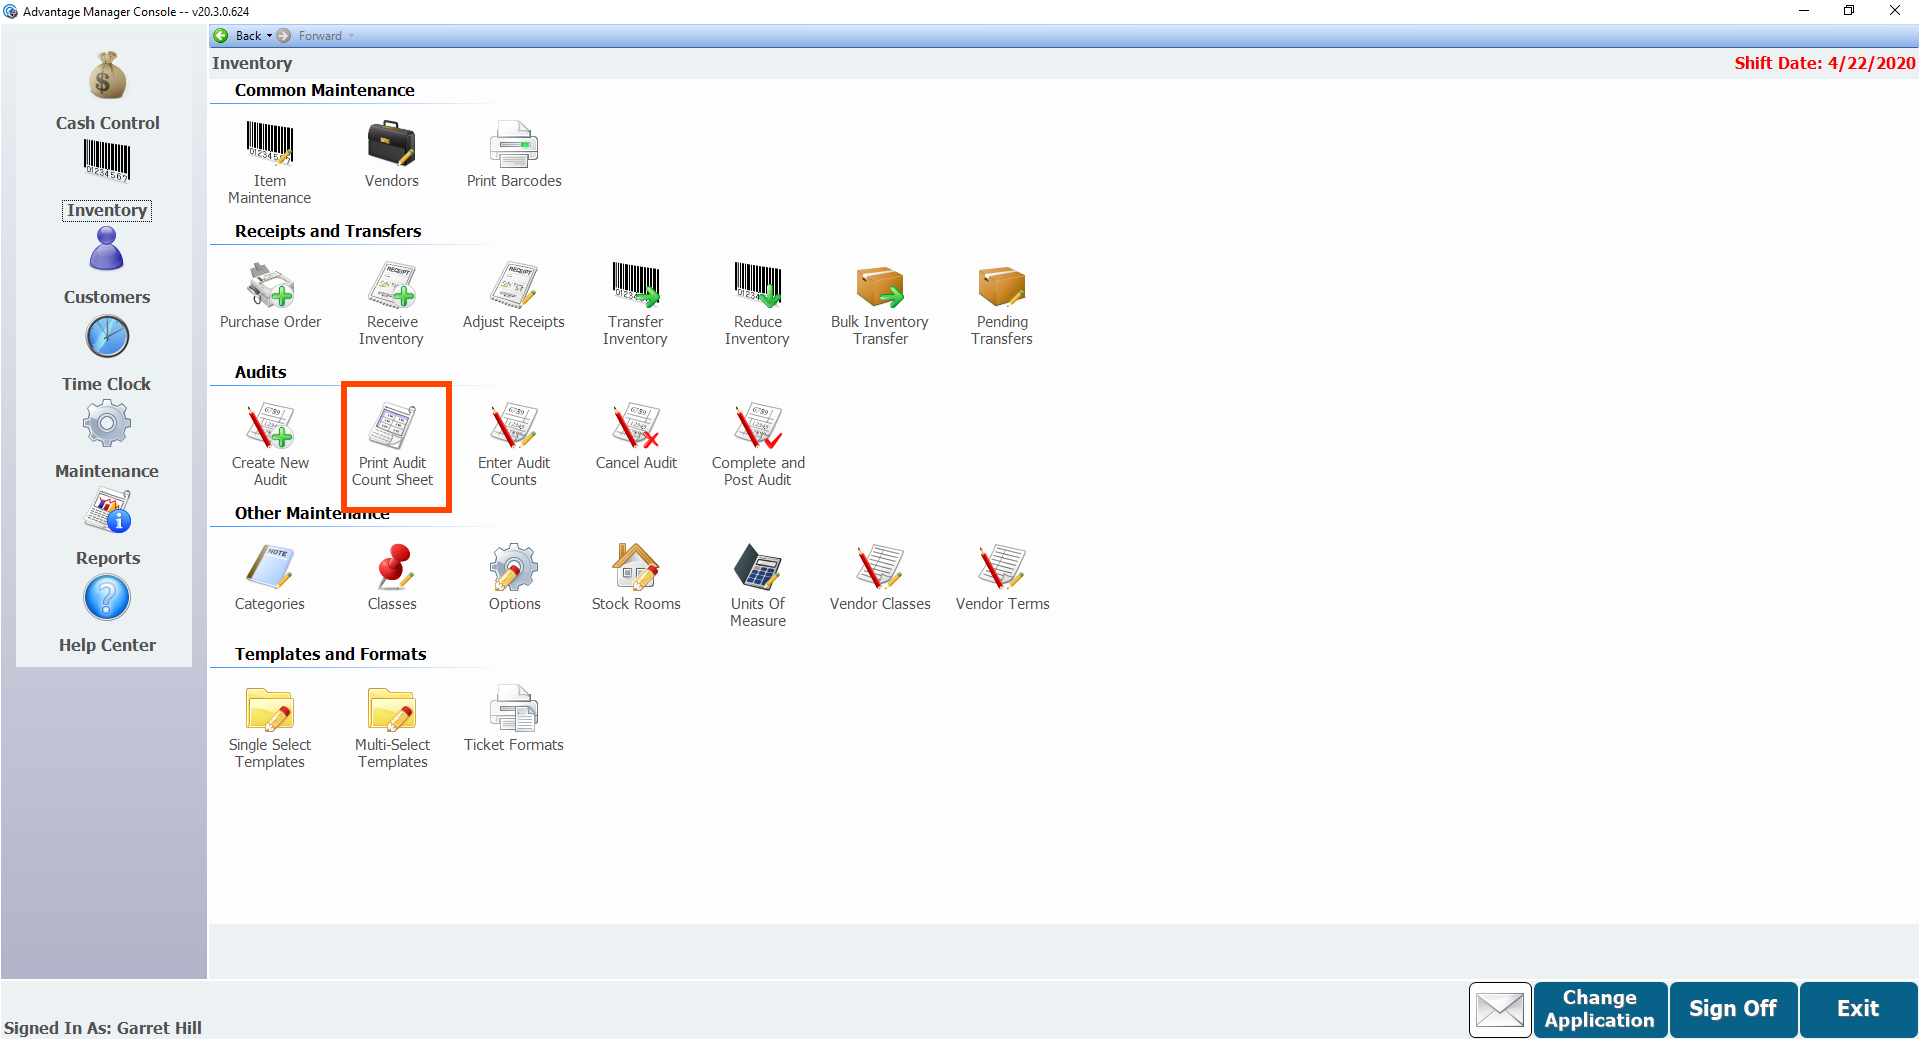
- You can open the Audit Count Sheet again by clicking Print Audit Count Sheet in Inventory.
Entering Audit Counts
- From Inventory, double-click Enter Audit Counts.
- Select the audit you are entering counts for from the Active Audit pull-down.
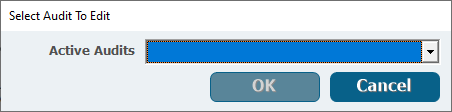
- Click OK.
- Enter the large unit in the #Lg
- This would be a unit like case or can.
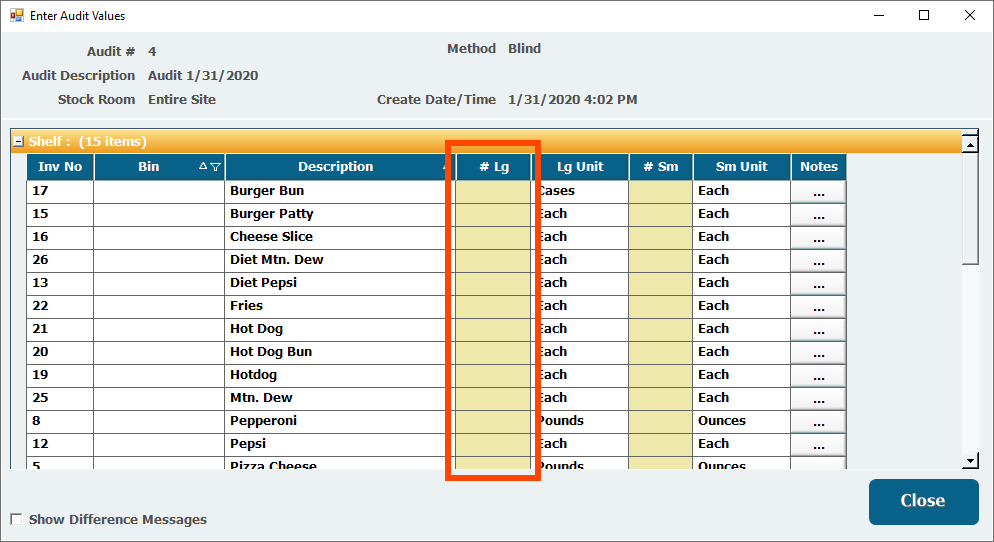
- This would be a unit like case or can.
- Enter the small unit in the #Sm
- This would be a unit like ounce or each.
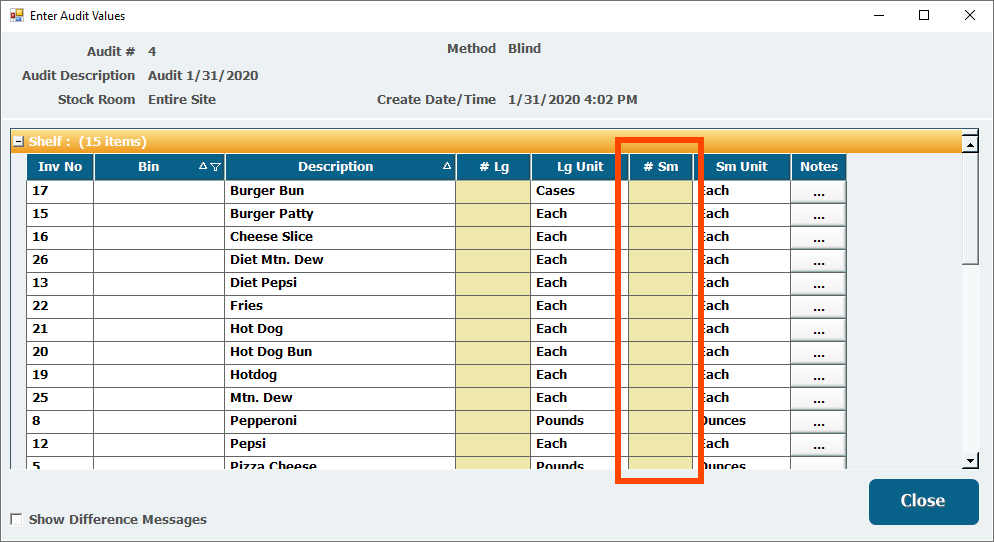
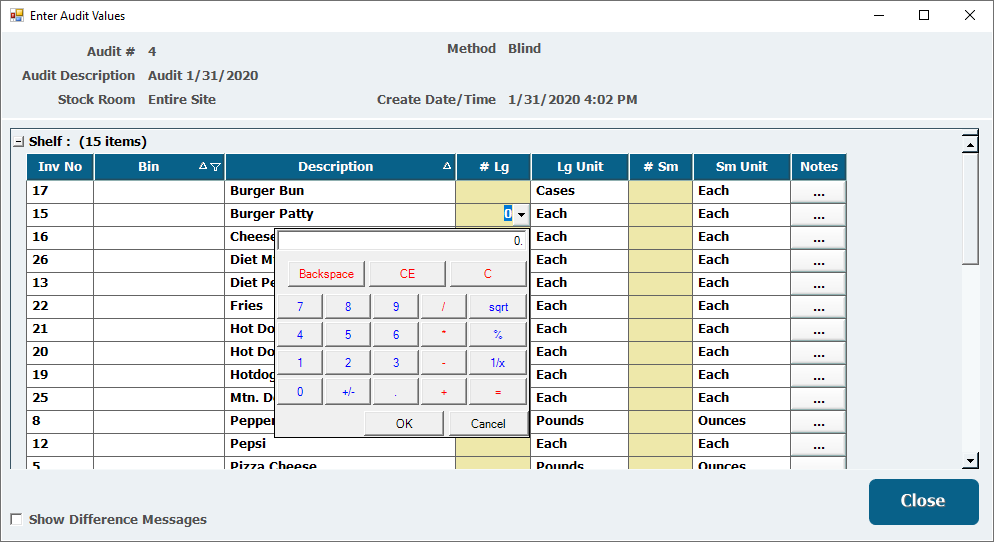
- Another way to enter the counts is to click the pull-down on an item in the large or small column, which will bring up a calculator that allows you to calculate the amount you have.
- This would be a unit like ounce or each.
- Click OK to save the value if you are using the calculator.
- Repeat for all items in the audit.
- Add any notes to items, if necessary, by clicking the button in the Notes column.
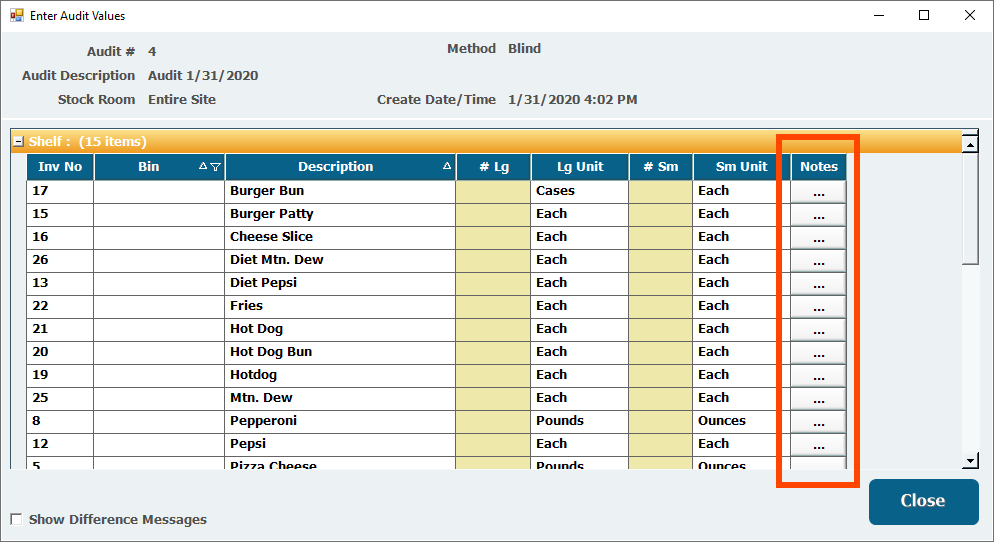
- Once the counts have been entered, click Close.
Audit Variance Report
Once you have entered inventory counts, you can pull a report to point out where expected quantities and counted quantities differ.
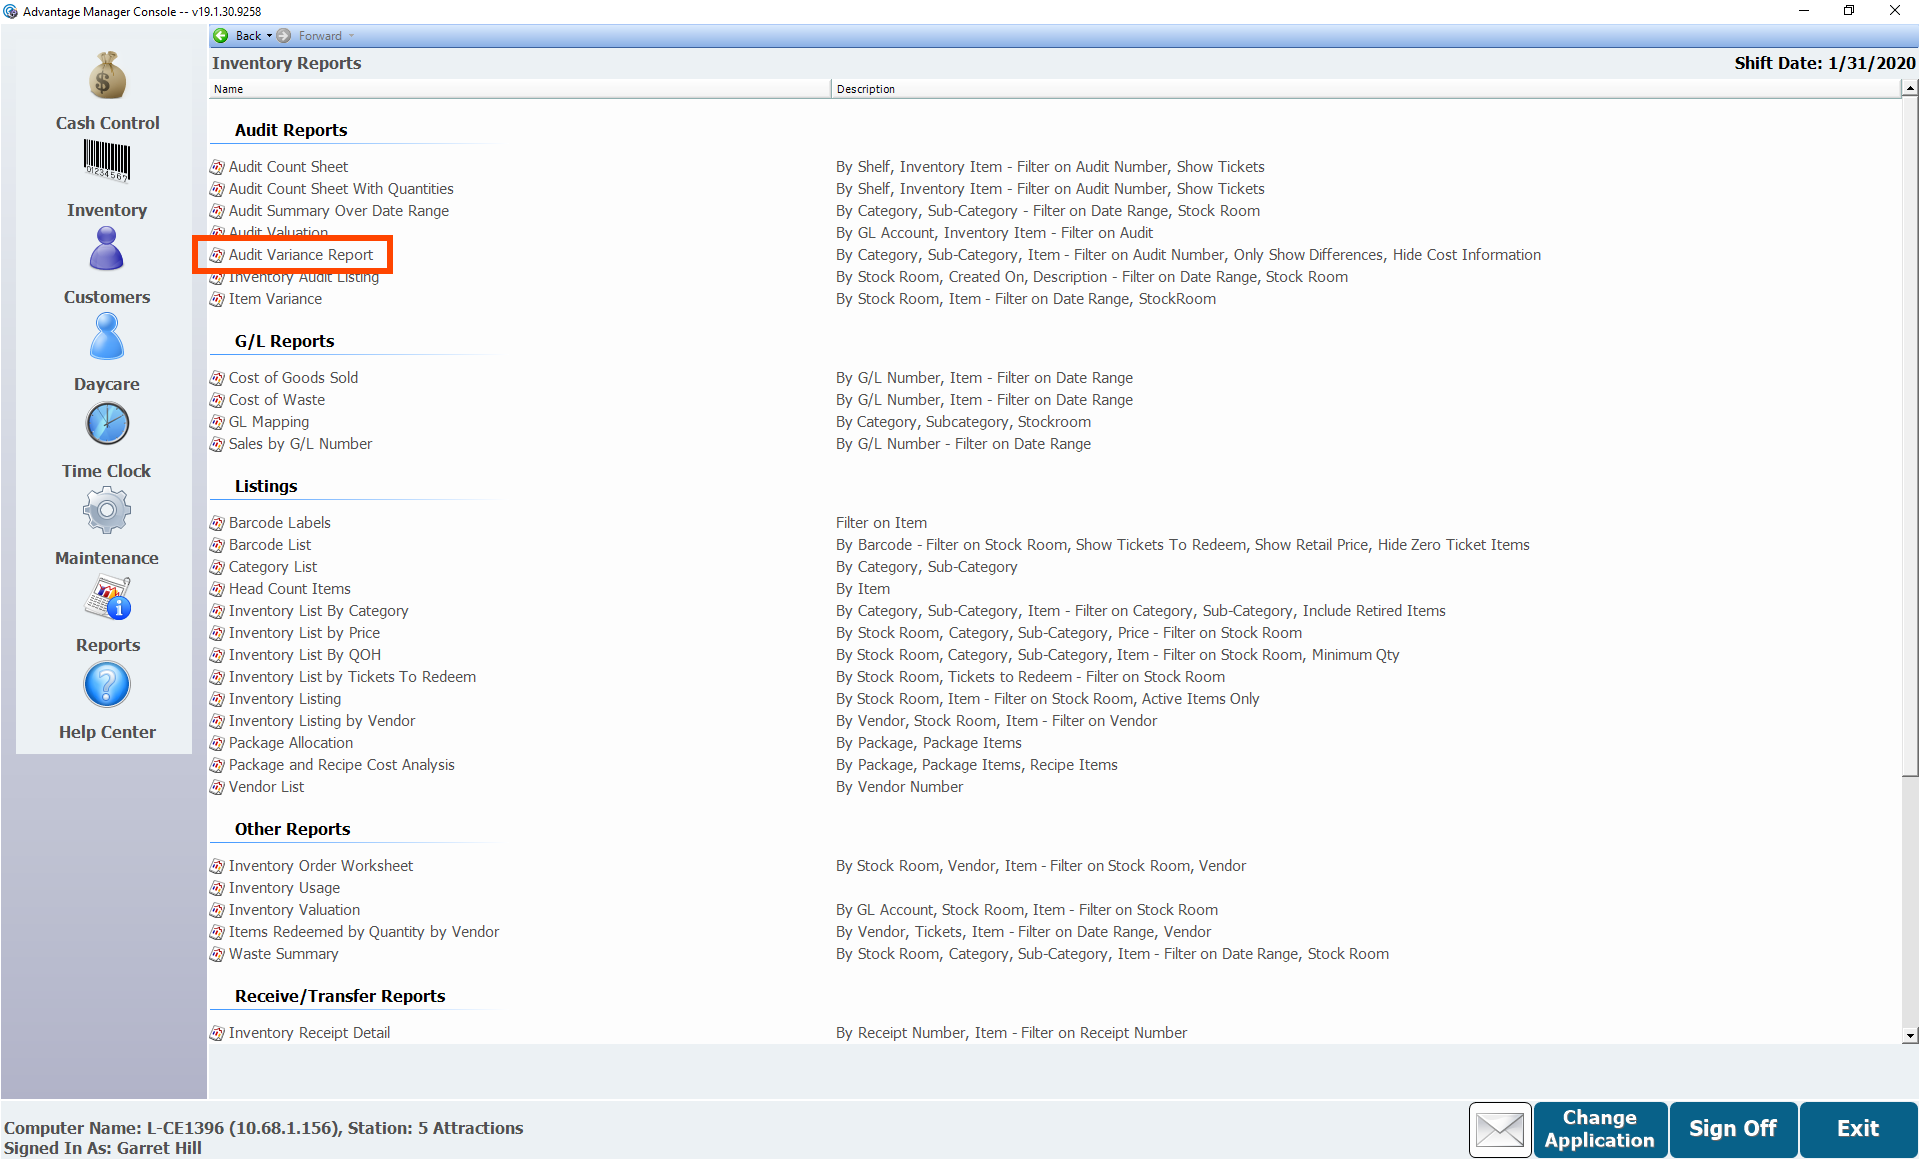
- In Manager Console, click Reports.
- Double-click Inventory.
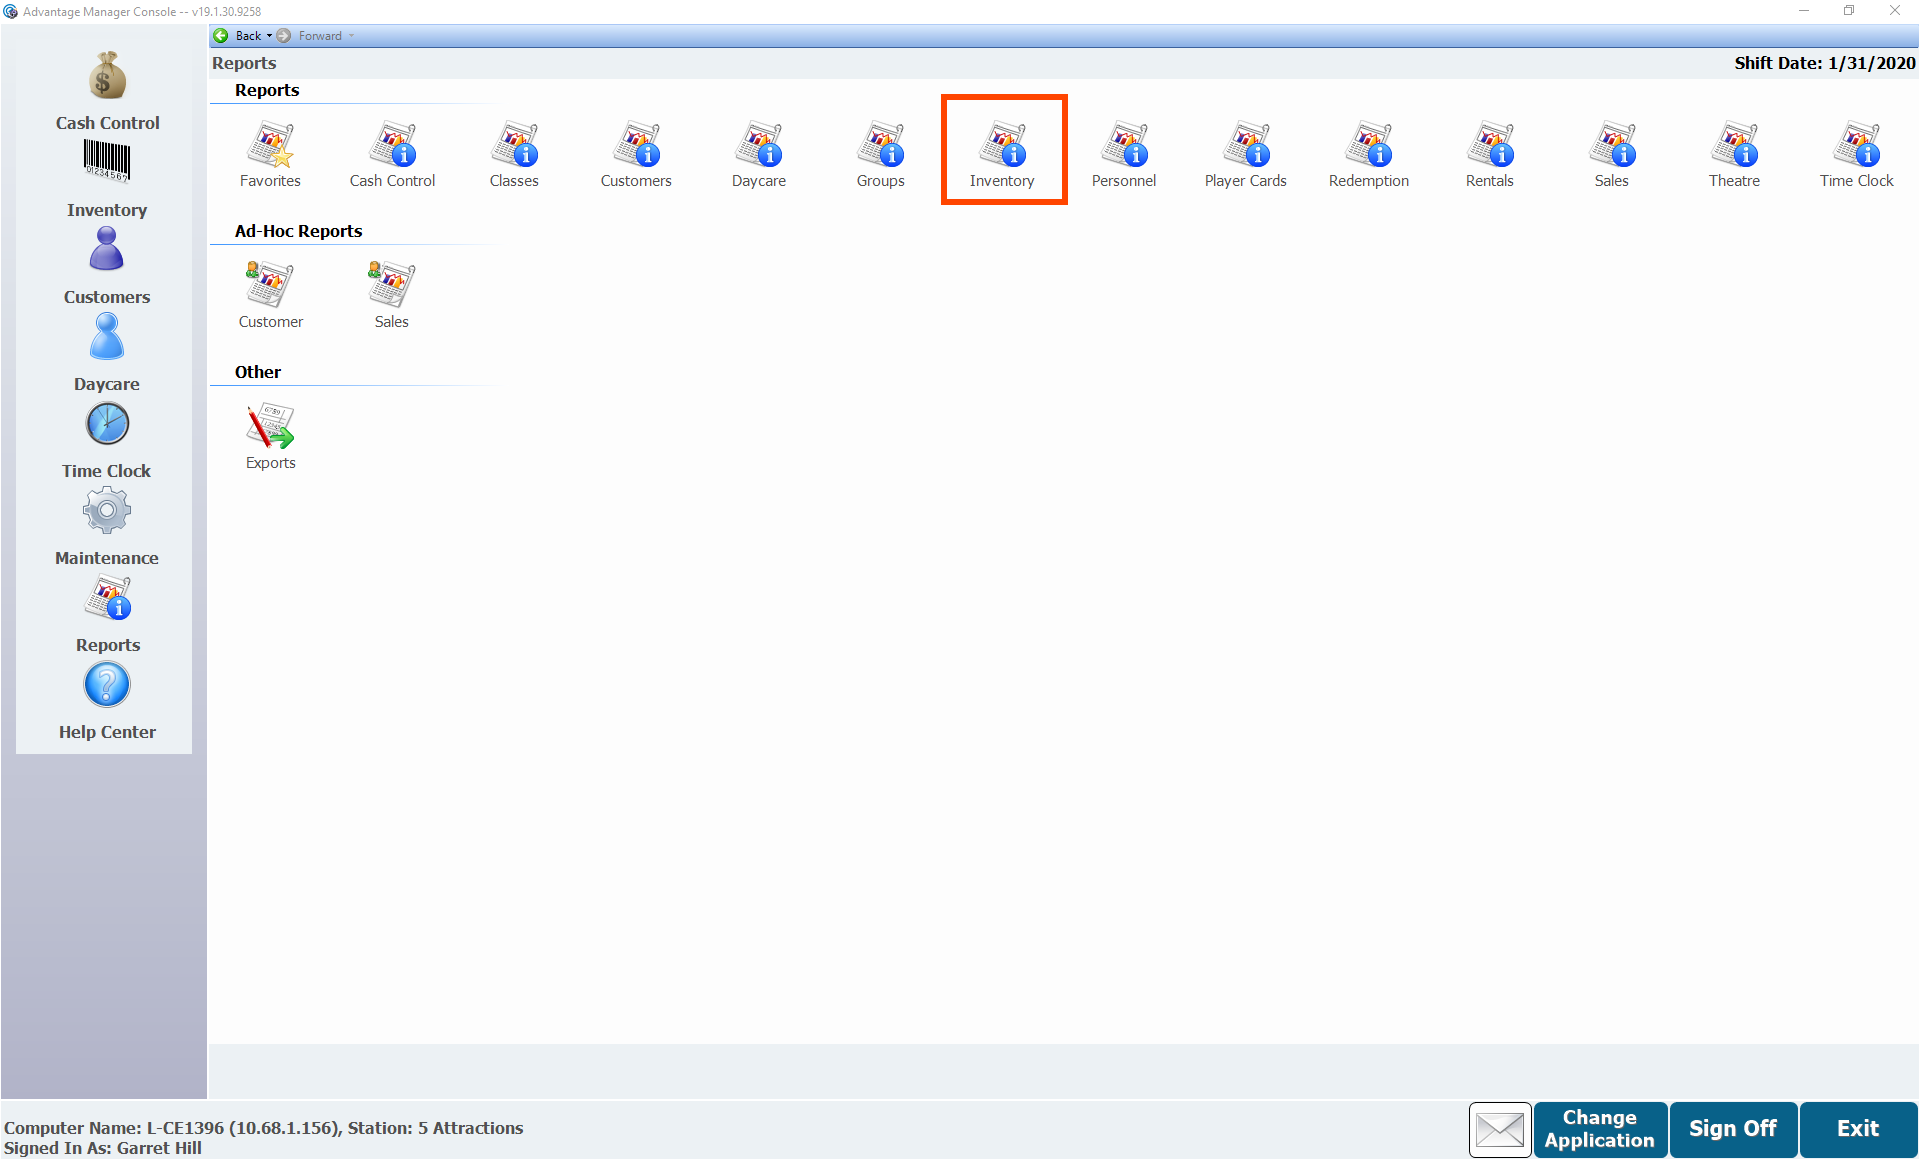
- Double-click Audit Variance Report under Audit Reports.
- Select the Audit.
- Click OK.
- It may take a minute for the report to load.
- If there are variances, recount to double-check the numbers are correct and adjust counts accordingly.
- After you have made sure everything is correct, you can save or print the report.
Completing the Audit
After completing all the above steps, post the audit, which will update your quantity on hand.
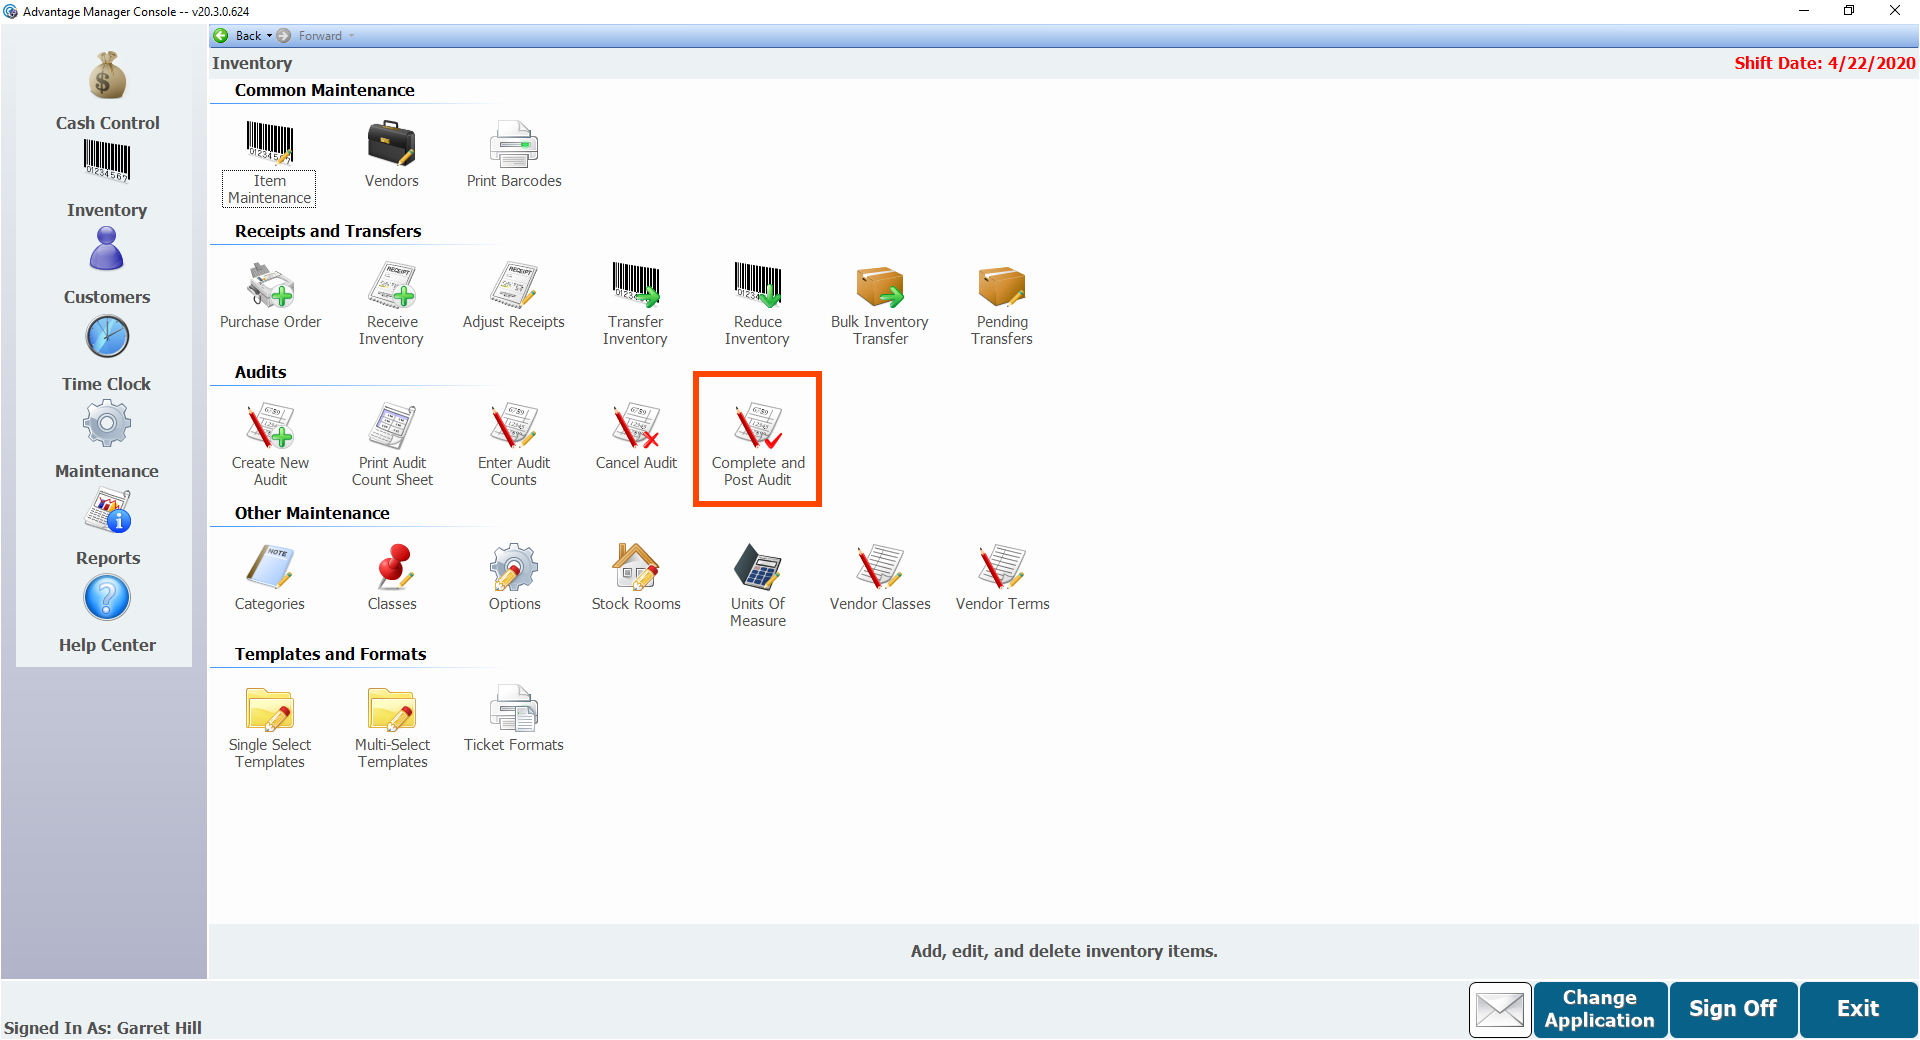
- From Inventory, double-click Complete and Post Audit.
- Select the Active Audit to complete and post.
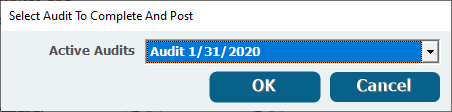
- Click OK.
- Click Yes.
- The audit will be posted and the QOH (Quantity On Hand) will be updated in the system.
Canceling the Audit
If you ever determine an audit is unnecessary or contains incorrect items, you can cancel it.
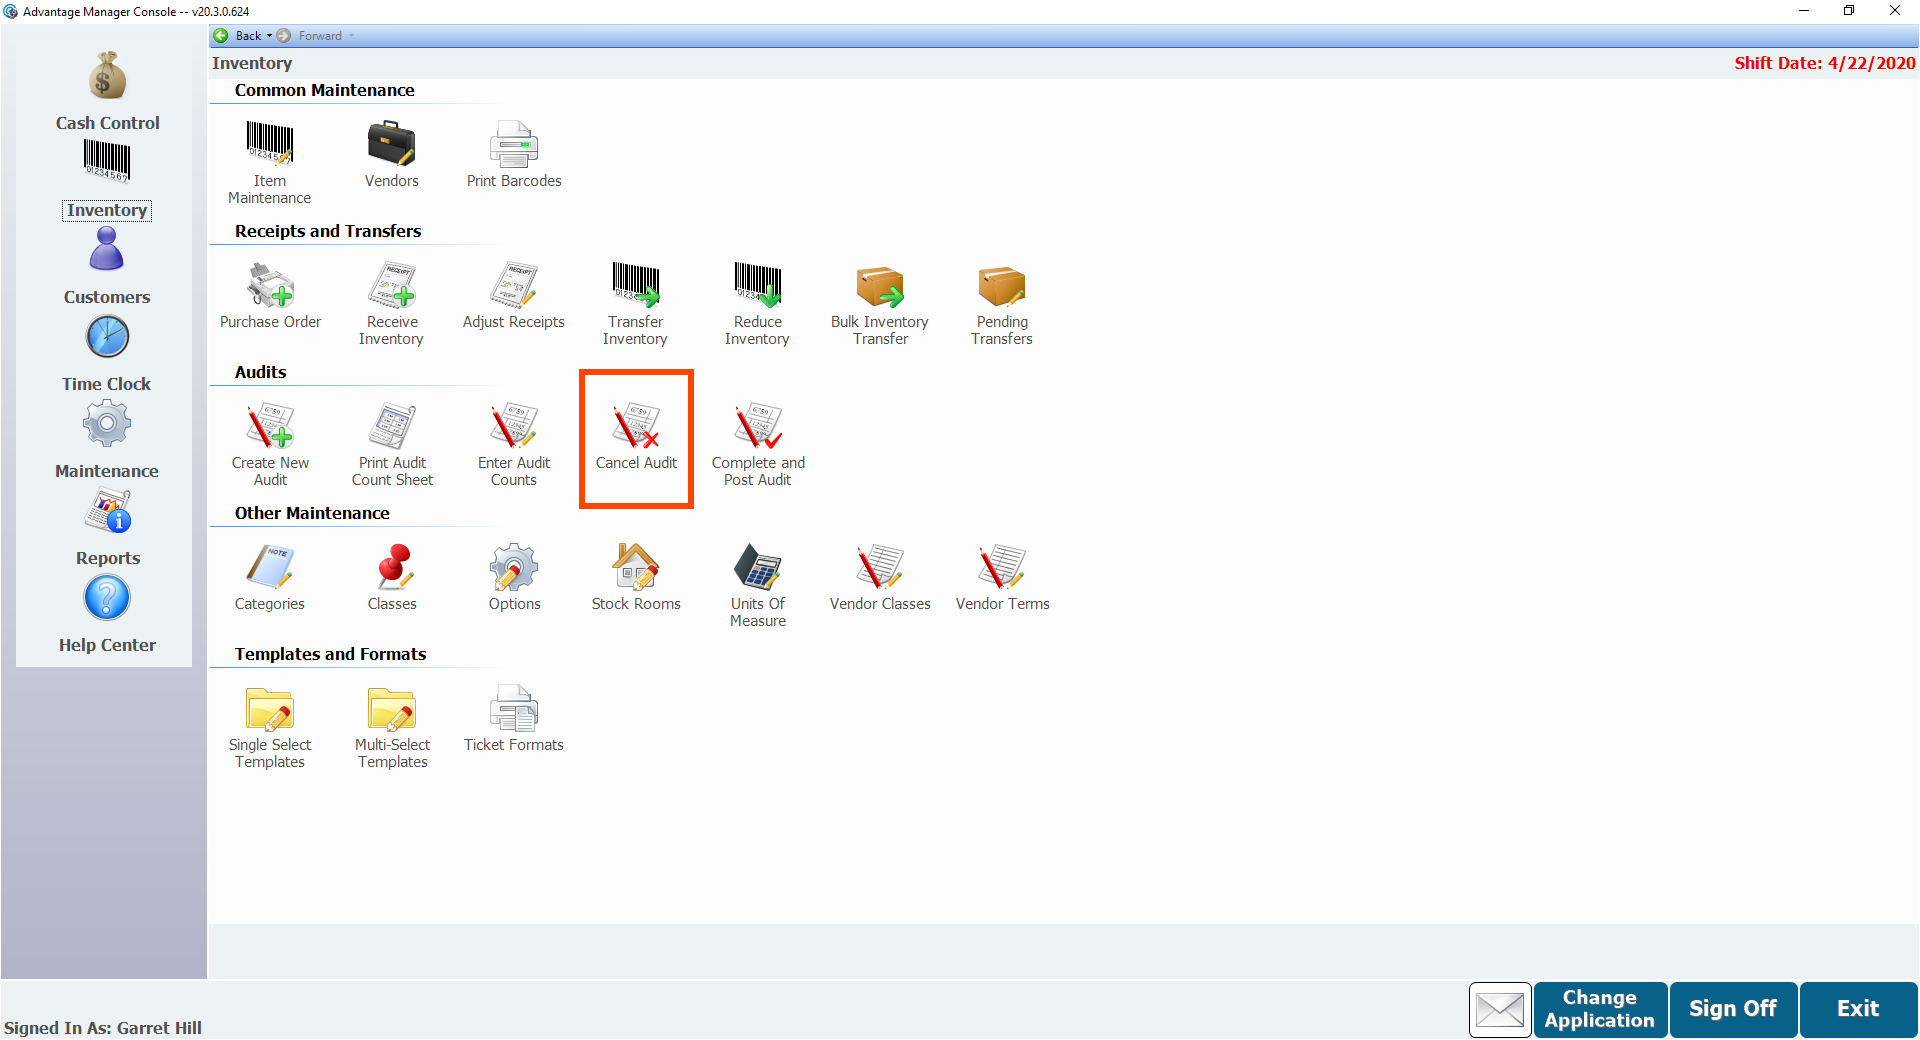
- From Inventory, double-click Cancel Audit.
- Select the Active Audit to cancel.
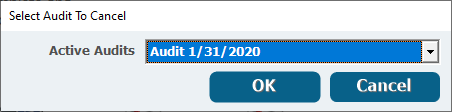
- Click OK.
- Click Yes.